
[MAC] M1 MacBook Pro Environment setting - #3. oh-my-zsh plugins
oh-my-zsh에 적용할 2가지 plugins
- zsh-syntax-highlighting
- zsh-autosuggestions
1. zsh-syntax-highlighting
zsh-syntax-highlighting 홈페이지 > INSTALL.md
(방법1) In your ~/.zshrc
이 방법은 oh-my-zsh의 모든 plugins이 설치되어 있는
~/.oh-my-zsh/plugins폴더에서 작업하게 된다.
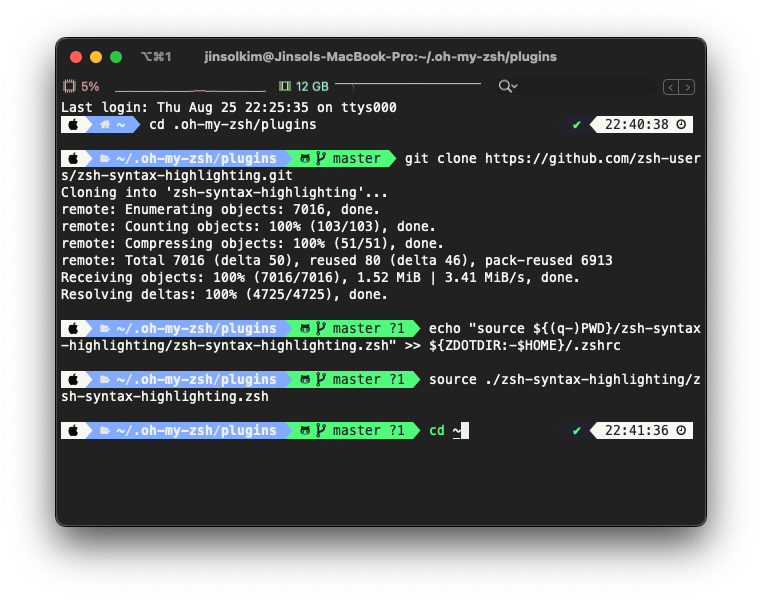
Step1) .oh-my-zsh의 plugins 디렉토리로 이동
$ cd ~/.oh-my-zsh/plugins
Step2) git clone & 설치한 plugin activate
$ git clone https://github.com/zsh-users/zsh-syntax-highlighting.git
$ echo "source ${(q-)PWD}/zsh-syntax-highlighting/zsh-syntax-highlighting.zsh" >> ${ZDOTDIR:-$HOME}/.zshrc
$ source ./zsh-syntax-highlighting/zsh-syntax-highlighting.zsh
(방법2) With a plugin manager (Oh My Zsh)
이 방법은 로컬컴퓨터의
~/.oh-my-zsh/custom/plugins폴더에서 내가 customizing한 plugins를 따로 관리할 수 있는 장점이 있다.
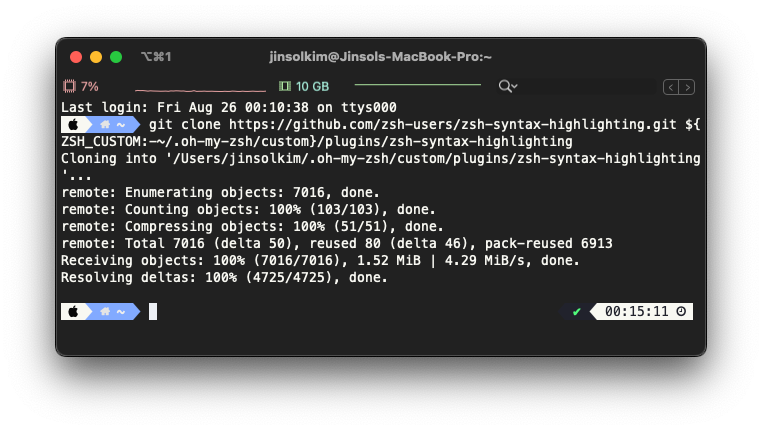
Step1) .oh-my-zsh의 customs/plugins 디렉토리로 이동
$ cd ~/.oh-my-zsh/customs/plugins
Step2) git clone
$ git clone https://github.com/zsh-users/zsh-syntax-highlighting.git ${ZSH_CUSTOM:-~/.oh-my-zsh/custom}/plugins/zsh-syntax-highlighting
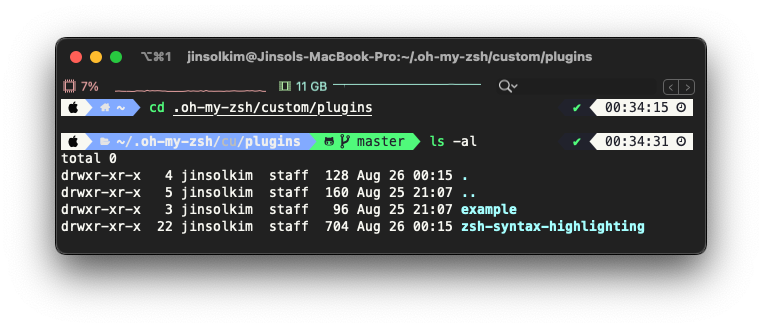
git clone 후 .oh-my-zsh/custom/plugins 폴더에 들어가보면 다음과 같이 zsh-syntax-highlighting 폴더가 잘 생성되어 있는 것을 확인할 수 있다.
Step3) 설치한 plugin activate (~/.zshrc)
~/.zshrc 파일 열어서 아래 코드와 같이 plugins 부분에 zsh-syntax-highlighting 추가하기
plugins=(
    # other plugins...
    zsh-syntax-highlighting
)
Step4) 터미널 종료 후 재시작
2. zsh-autosuggestion
zsh-autosuggestions 홈페이지 > INSTALL.md
With a plugin manager (Oh My Zsh)
Step1) .oh-my-zsh의 customs/plugins 디렉토리로 이동
$ cd ~/.oh-my-zsh/customs/plugins
Step2) git clone
$ git clone https://github.com/zsh-users/zsh-autosuggestions ${ZSH_CUSTOM:-~/.oh-my-zsh/custom}/plugins/zsh-autosuggestions
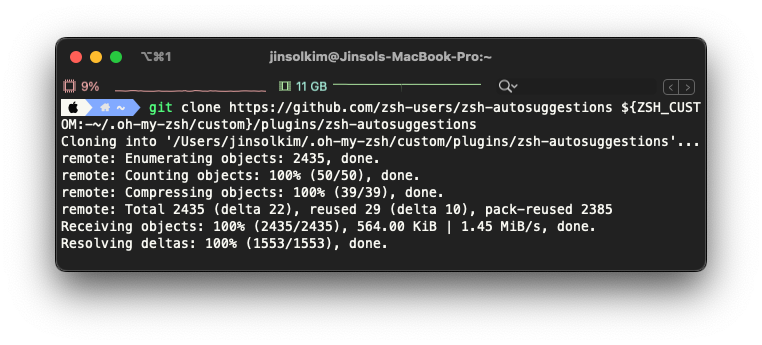
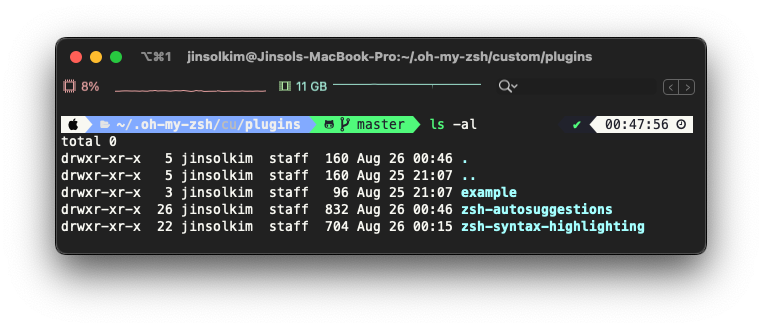
zsh-systax-highlighting 때와 마찬가지로 git clone 후 .oh-my-zsh/custom/plugins 폴더에 들어가보면 다음과 같이 zsh-autosuggestions 폴더가 잘 생성되어 있는 것을 확인할 수 있다.
Step3) 설치한 plugin activate (~/.zshrc)
~/.zshrc 파일 열어서 아래 코드와 같이 plugins 부분에 zsh-autosuggestions 추가하기
plugins=(
    # other plugins...
    zsh-autosuggestions
)
Step4) 터미널 종료 후 재시작

Leave a comment