
[MAC] M1 MacBook Pro Environment setting - #5. Tensorflow
1. Conda를 이용한 가상환경 구축
Step 1) Tensorflow 가상환경을 구축하기 위한 폴더 생성
$ mkdir {FOLDER_NAME}
$ cd {FOLDER_NAME}
Step 2) Conda 가상환경 구축 및 활성화
$ conda create -n {ENV_NAME}

2. Tensorflow depedencies 설치
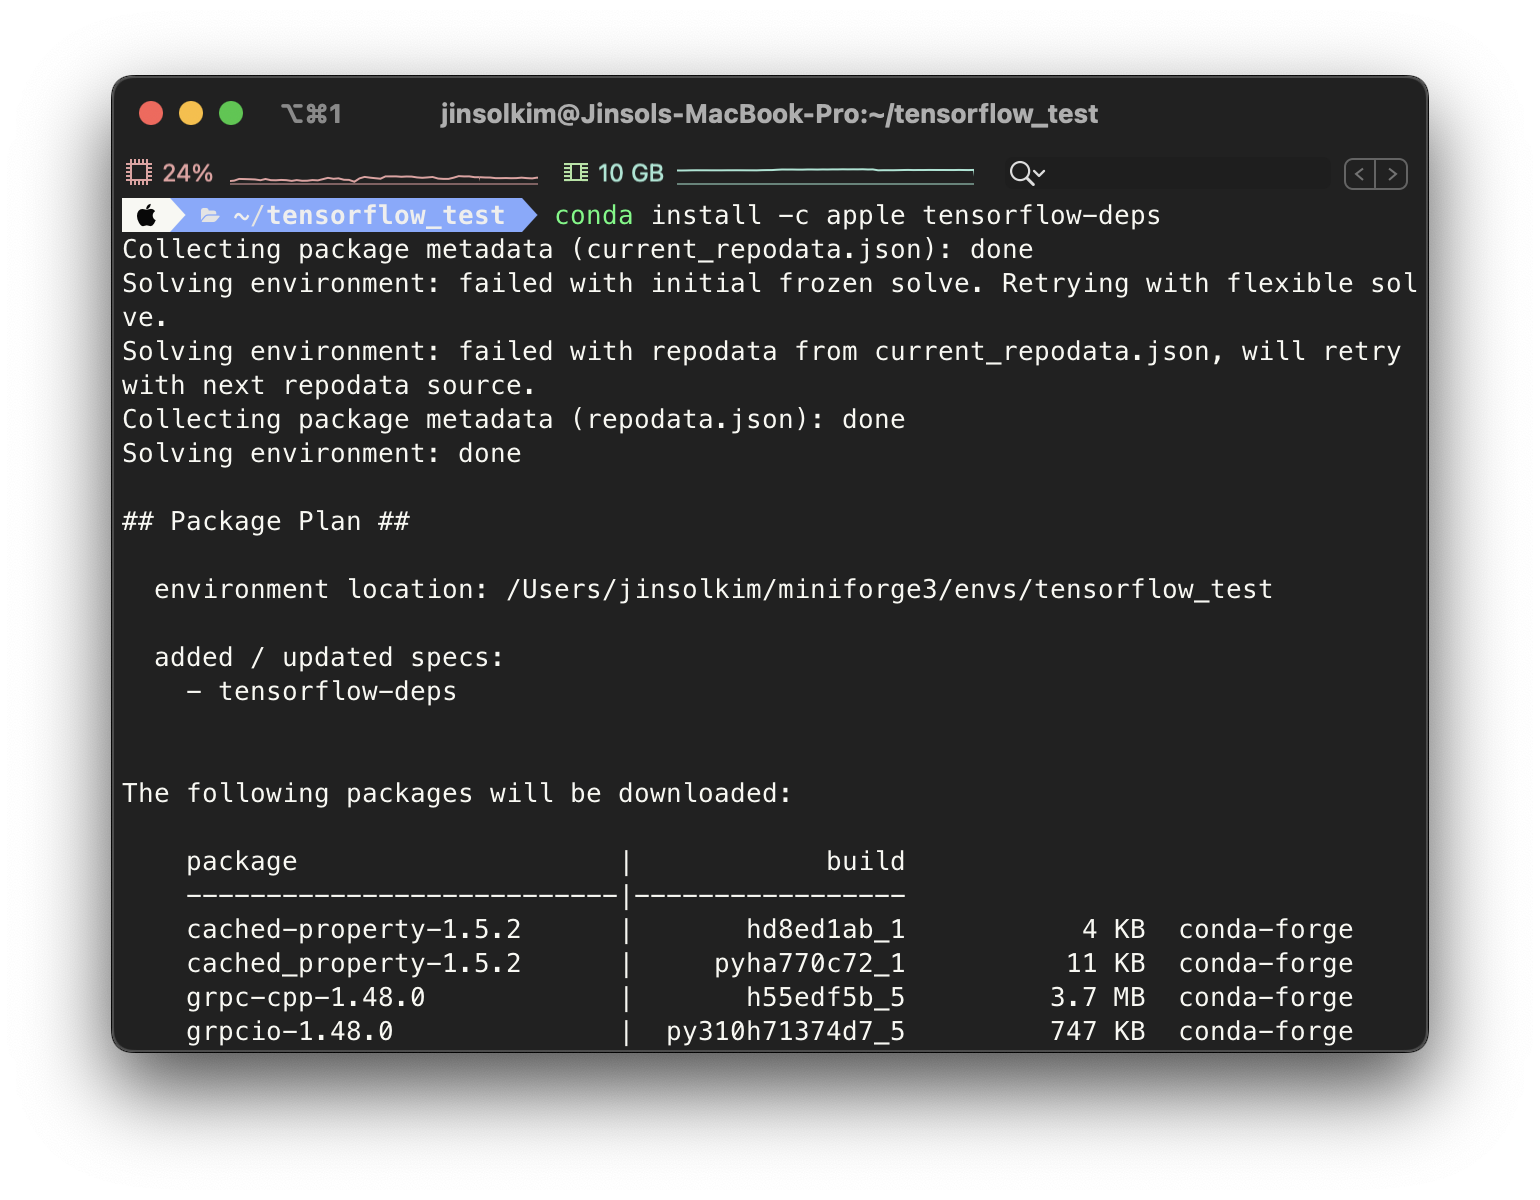
Apple에서 M1 MacBook에서 Tensorflow를 사용 가능하도록 만든 Tensorflow dependencies를 Apple conda channel를 통해 설치할 수 있도록 제공한다.
# Tensorflow를 설치할 가상환경 내부에서 진행
$ conda install -c apple tensorflow-deps
3. Tensorflow-macos 설치
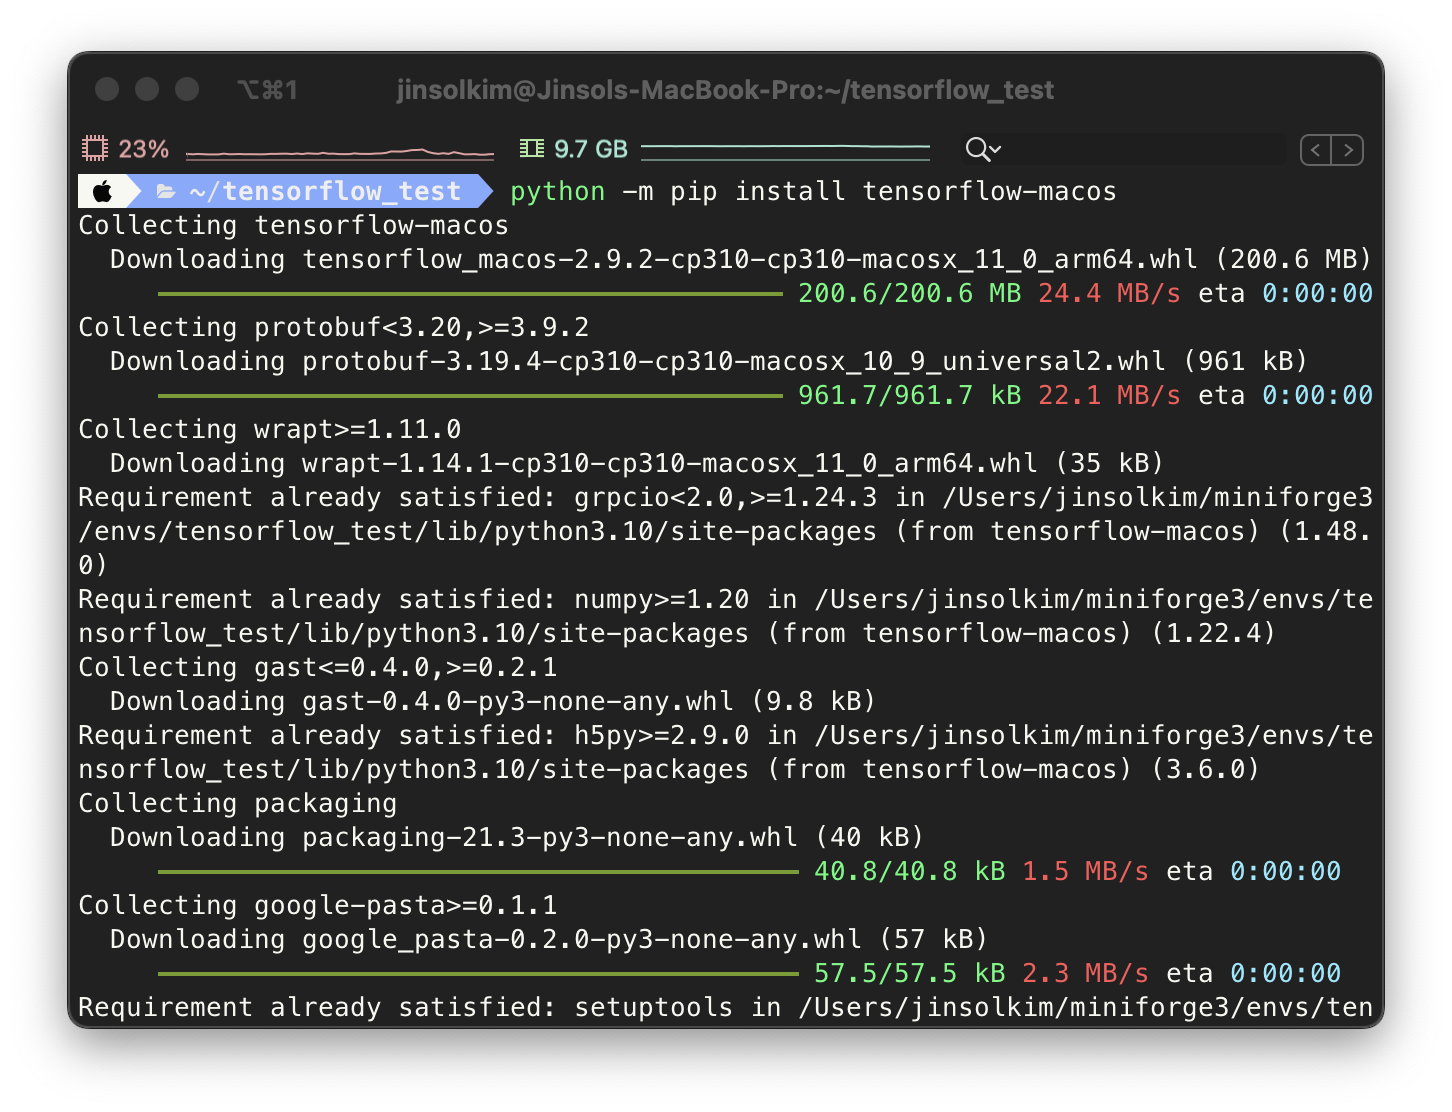
MacOS를 위한 Tensorflow 설치
$ python -m pip install tensorflow-macos
4. Tensorflow-metal 설치
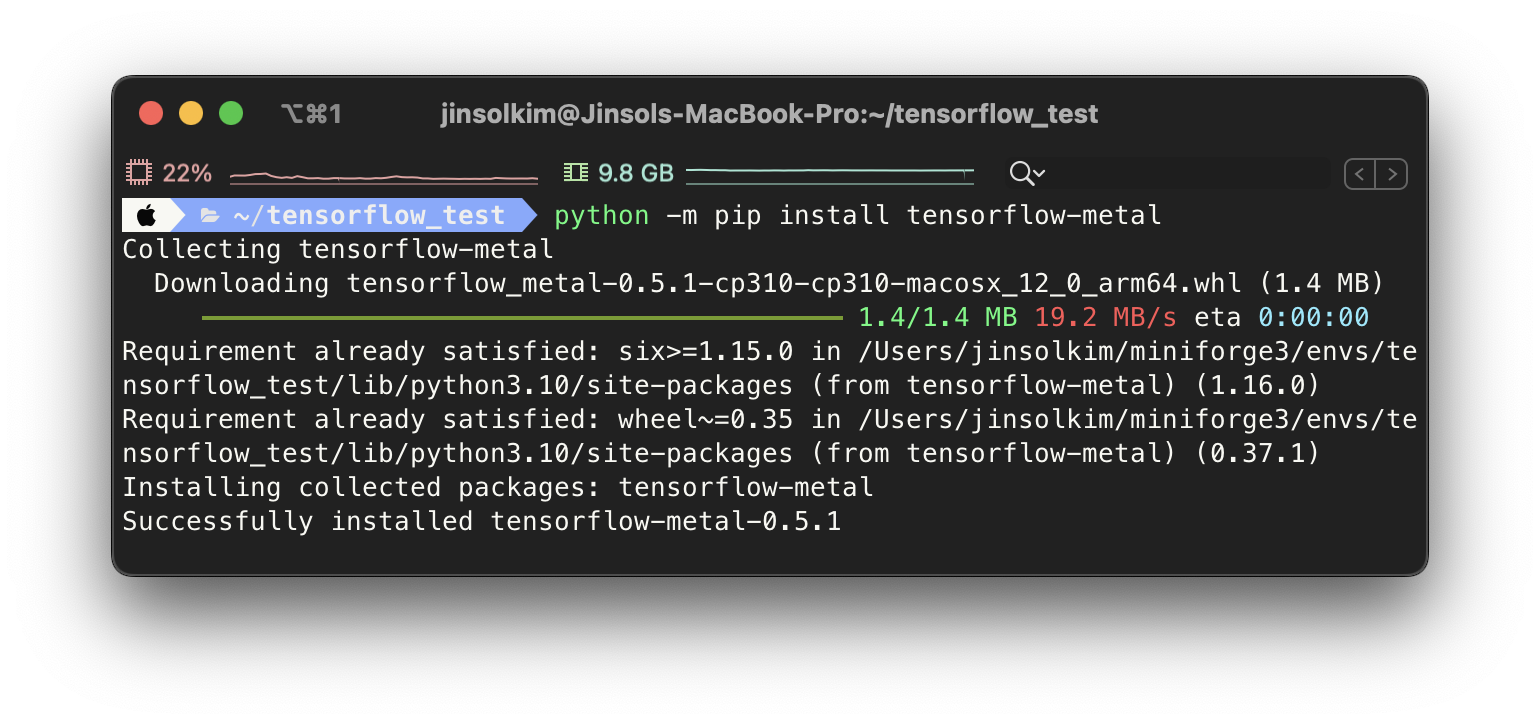
Apple의 tensorflow-metal 은 M1, M1 Pro, M1 Max에서 GPU acceleration을 가능하게 해준다. (Metal은 Apple의 GPU framework)
$ python -m pip install tensorflow-metal
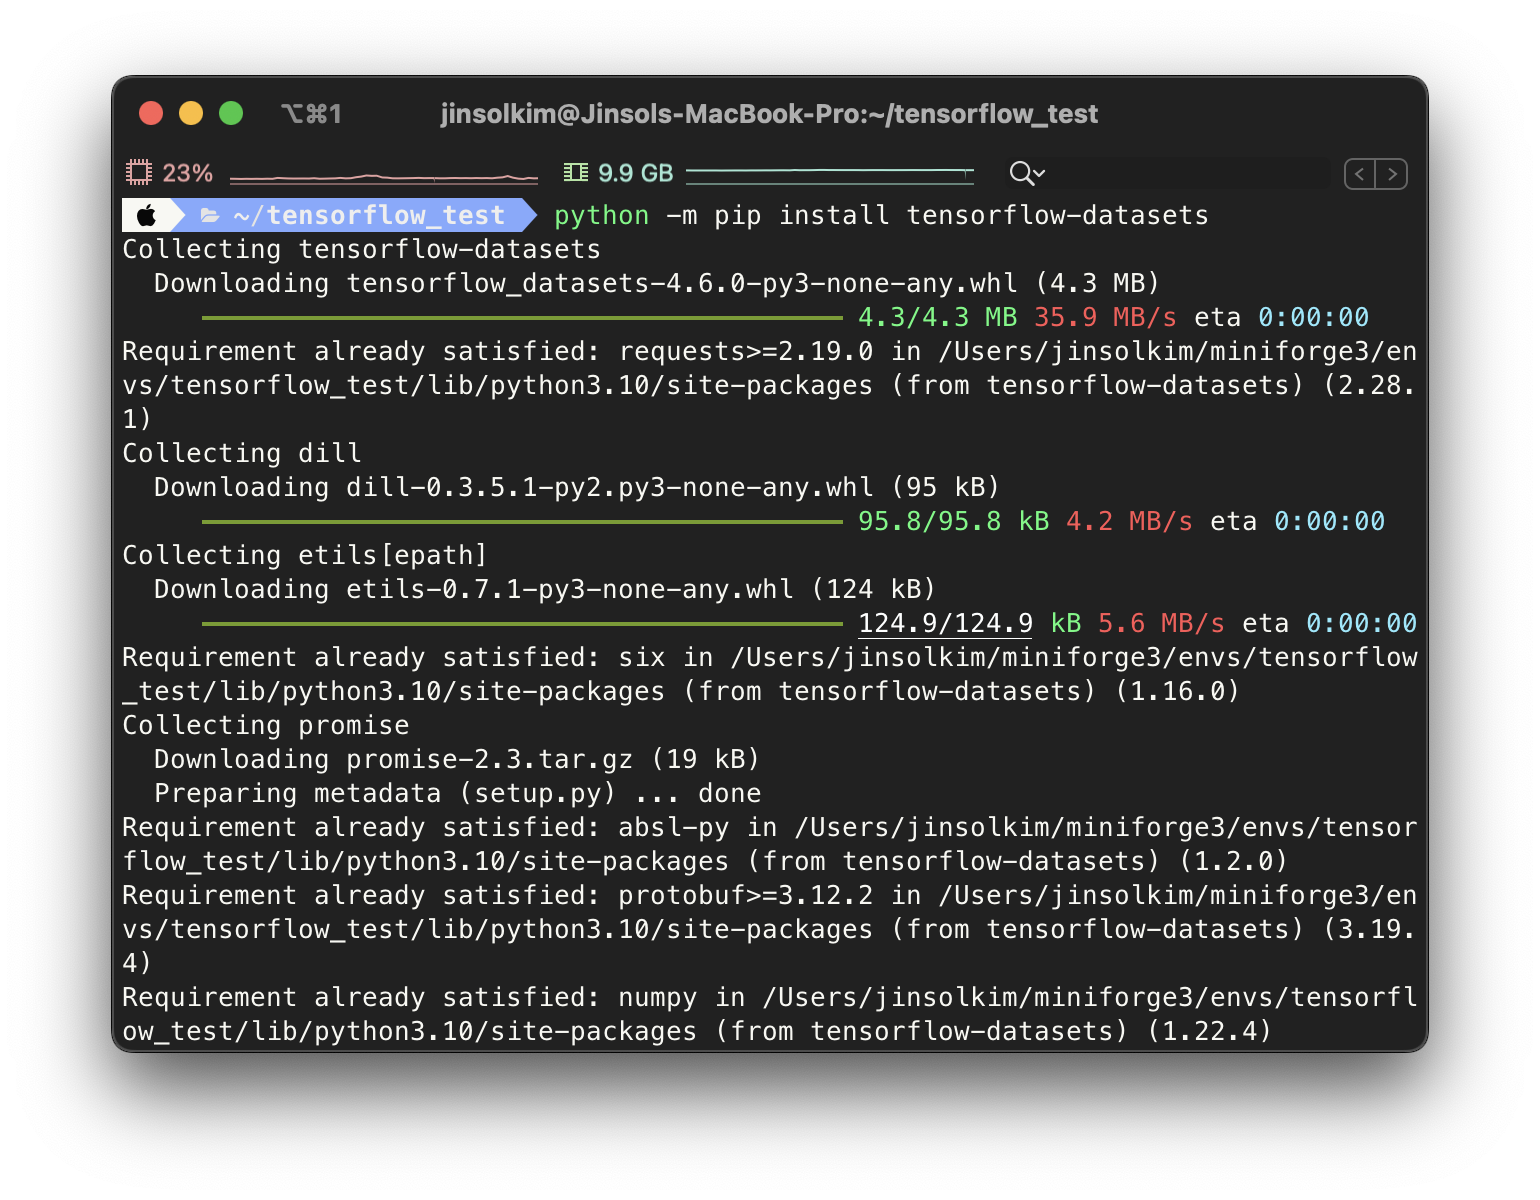
5. (optional) Tensorflow datasets 설치
$ python -m pip install tensorflow-datasets
6. (optional) Data science 패키지 설치
$ conda install jupyter pandas numpy matplotlib scikit-learn
7. Dependencies & GPU acceleration 확인
처음 import 할 때 약간의 시간이 걸린다 (약 1분 정도)
import numpy as np
import pandas as pd
import sklearn
import tensorflow as tf
import matplotlib.pyplot as plt

# Check for TensorFlow GPU access
print(f"TensorFlow has access to the following devices:\n{tf.config.list_physical_devices()}")

# See TensorFlow version
print(f"TensorFlow version: {tf.__version__}")
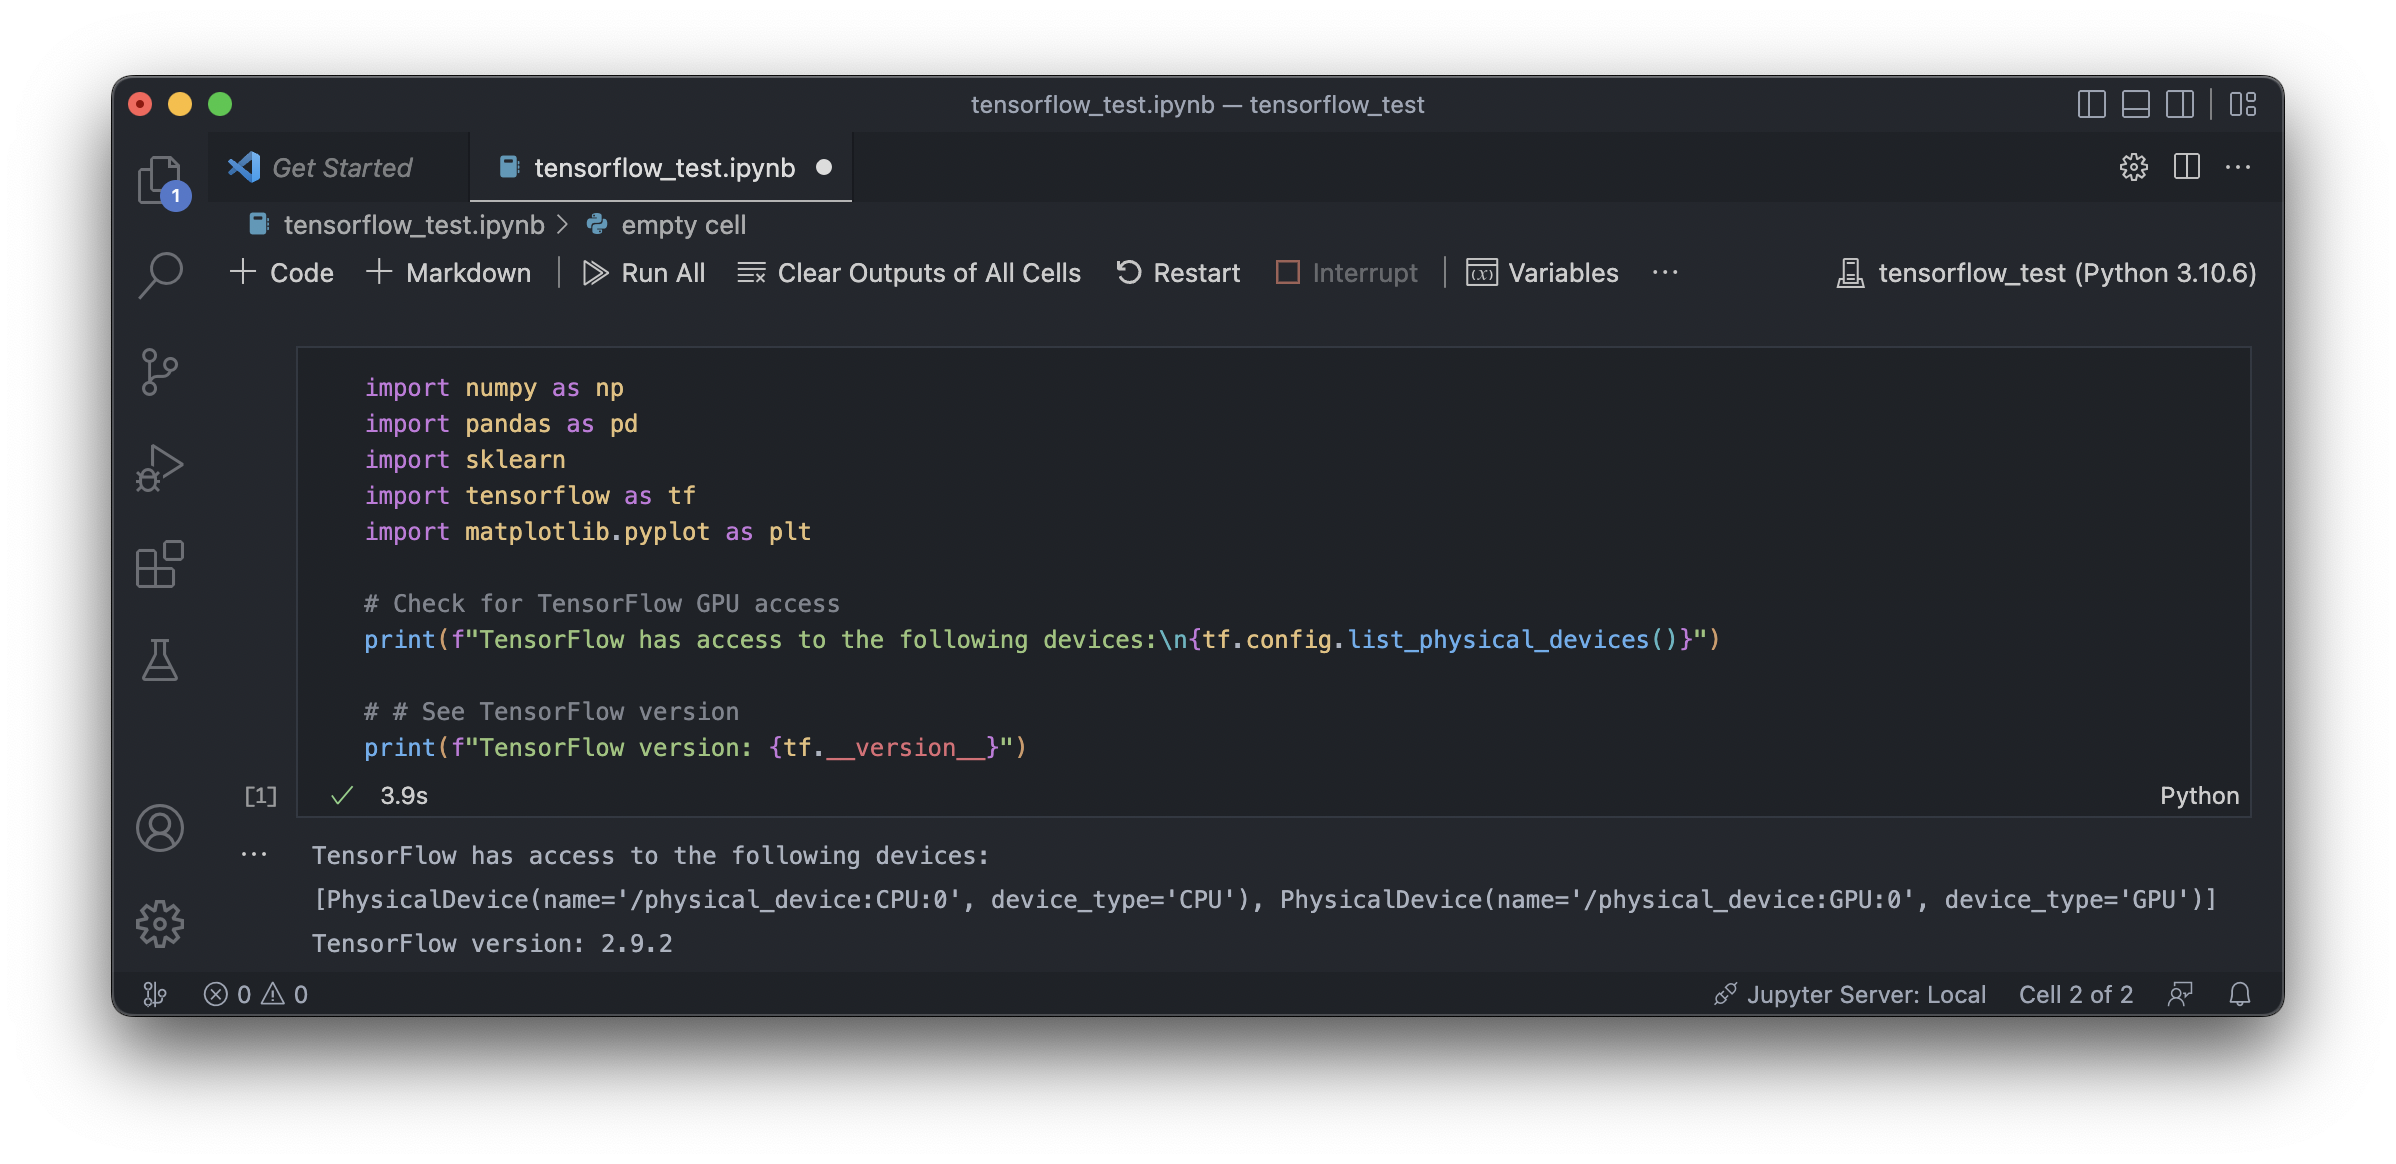
위의 코드 실행 결과, 앞으로 Tensorflow를 사용할 때 CPU 뿐만 아니라 GPU도 함께 accelerate된다는 것을 확인했다.
Reference
Setup Apple Silicon Mac for Machine Learning in 13 minutes (TensorFlow edition)

Leave a comment