
[MAC] M1 MacBook Pro Environment setting - #6. PyTorch
1. Conda를 이용한 가상환경 구축
Step 1) PyTorch 가상환경을 구축하기 위한 폴더 생성
$ mkdir {FOLDER_NAME}
$ cd {FOLDER_NAME}
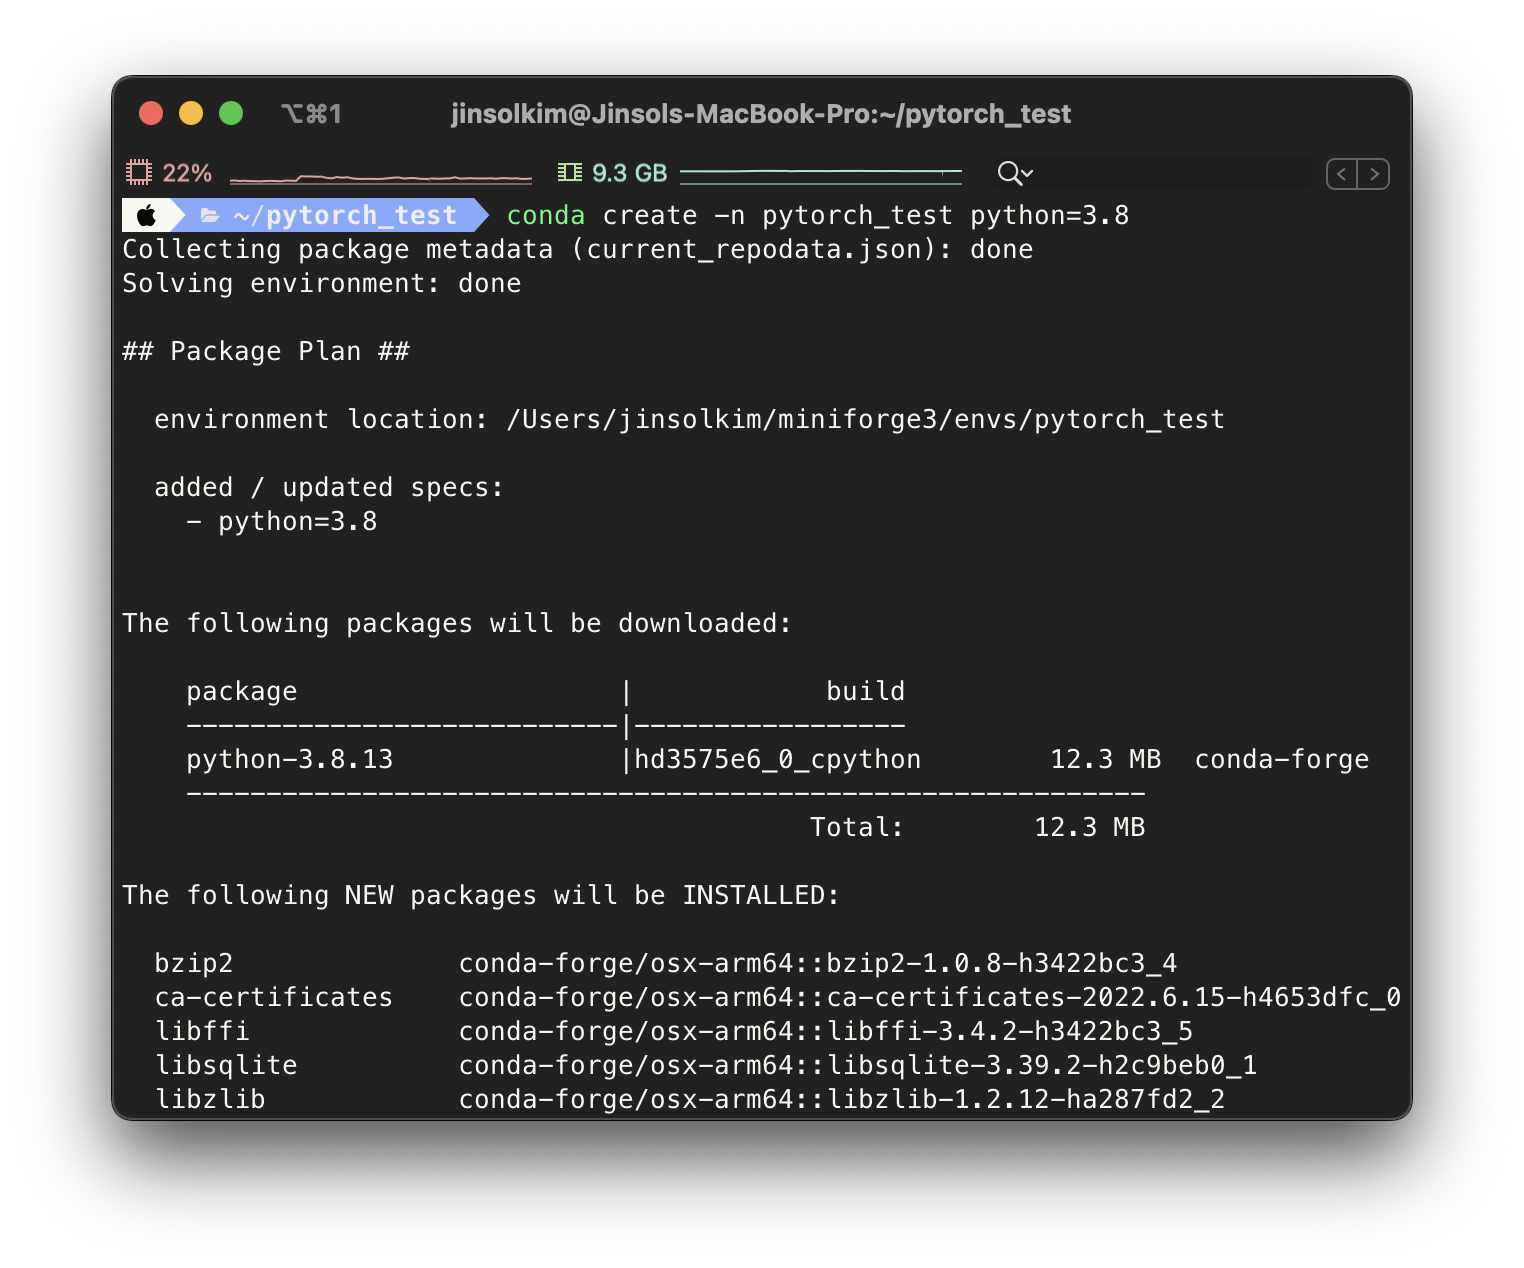
Step 2) Conda 가상환경 구축 및 활성화
$ conda create -n {ENV_NAME}
(참고) 2022.08 기준으로 Python 3.8이 PyTorch를 설치하기 가장 좋은 환경이다.
2. PyTorch 설치
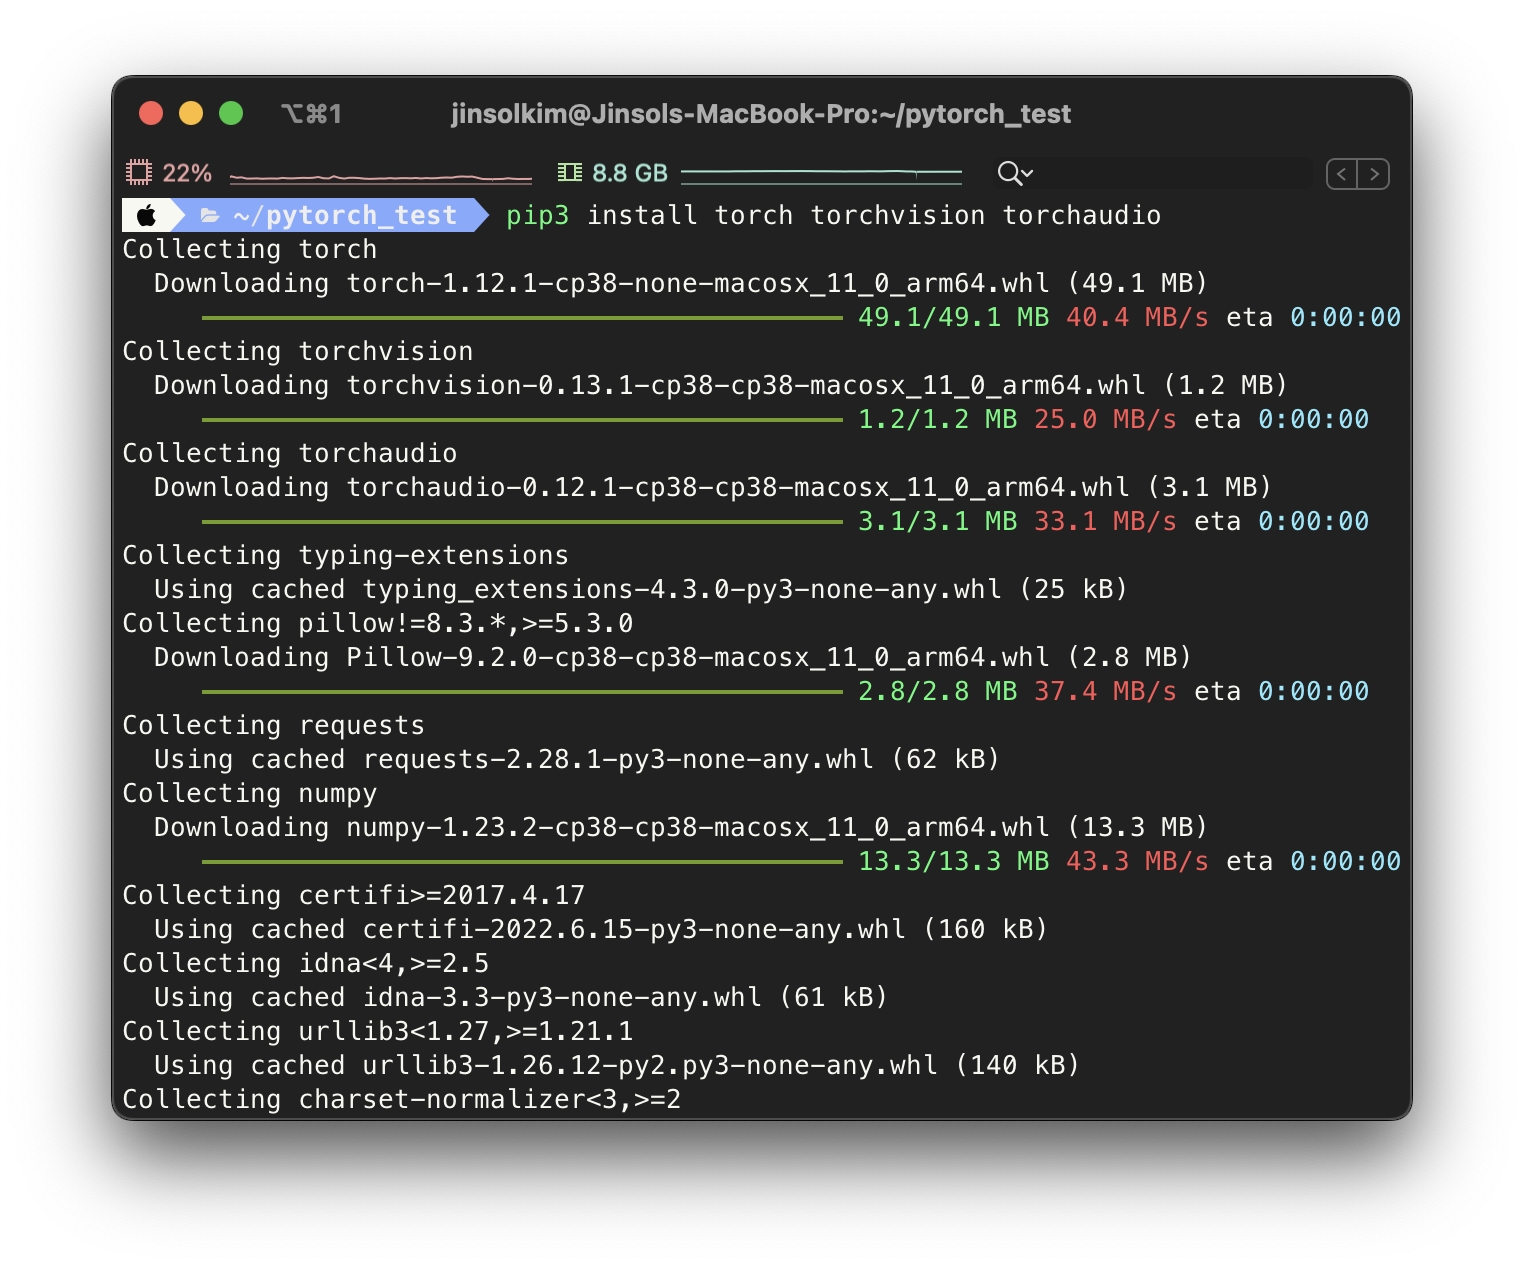
PyTorch Get-Started 페이지에서 PyTorch를 설치할 수 있는 코드 확인
- Stable(1.12.1)
- Mac
- Pip
- Python
- Default
$ pip3 install torch torchvision torchaudio
3. (optional) Data science 패키지 설치
$ conda install jupyter pandas numpy matplotlib scikit-learn tqdm
4. Dependencies & GPU acceleration 확인
처음 import 할 때 약간의 시간이 걸린다 (약 1분 정도)
import torch
import numpy as np
import pandas as pd
import sklearn
import matplotlib.pyplot as plt

print(f"PyTorch version: {torch.__version__}")

# Check PyTorch has access to MPS (Metal Performance Shader, Apple's GPU architecture)
print(f"Is MPS (Metal Performance Shader) built? {torch.backends.mps.is_built()}")
print(f"Is MPS available? {torch.backends.mps.is_available()}")

# Set the device
device = "mps" if torch.backends.mps.is_available() else "cpu"
print(f"Using device: {device}")
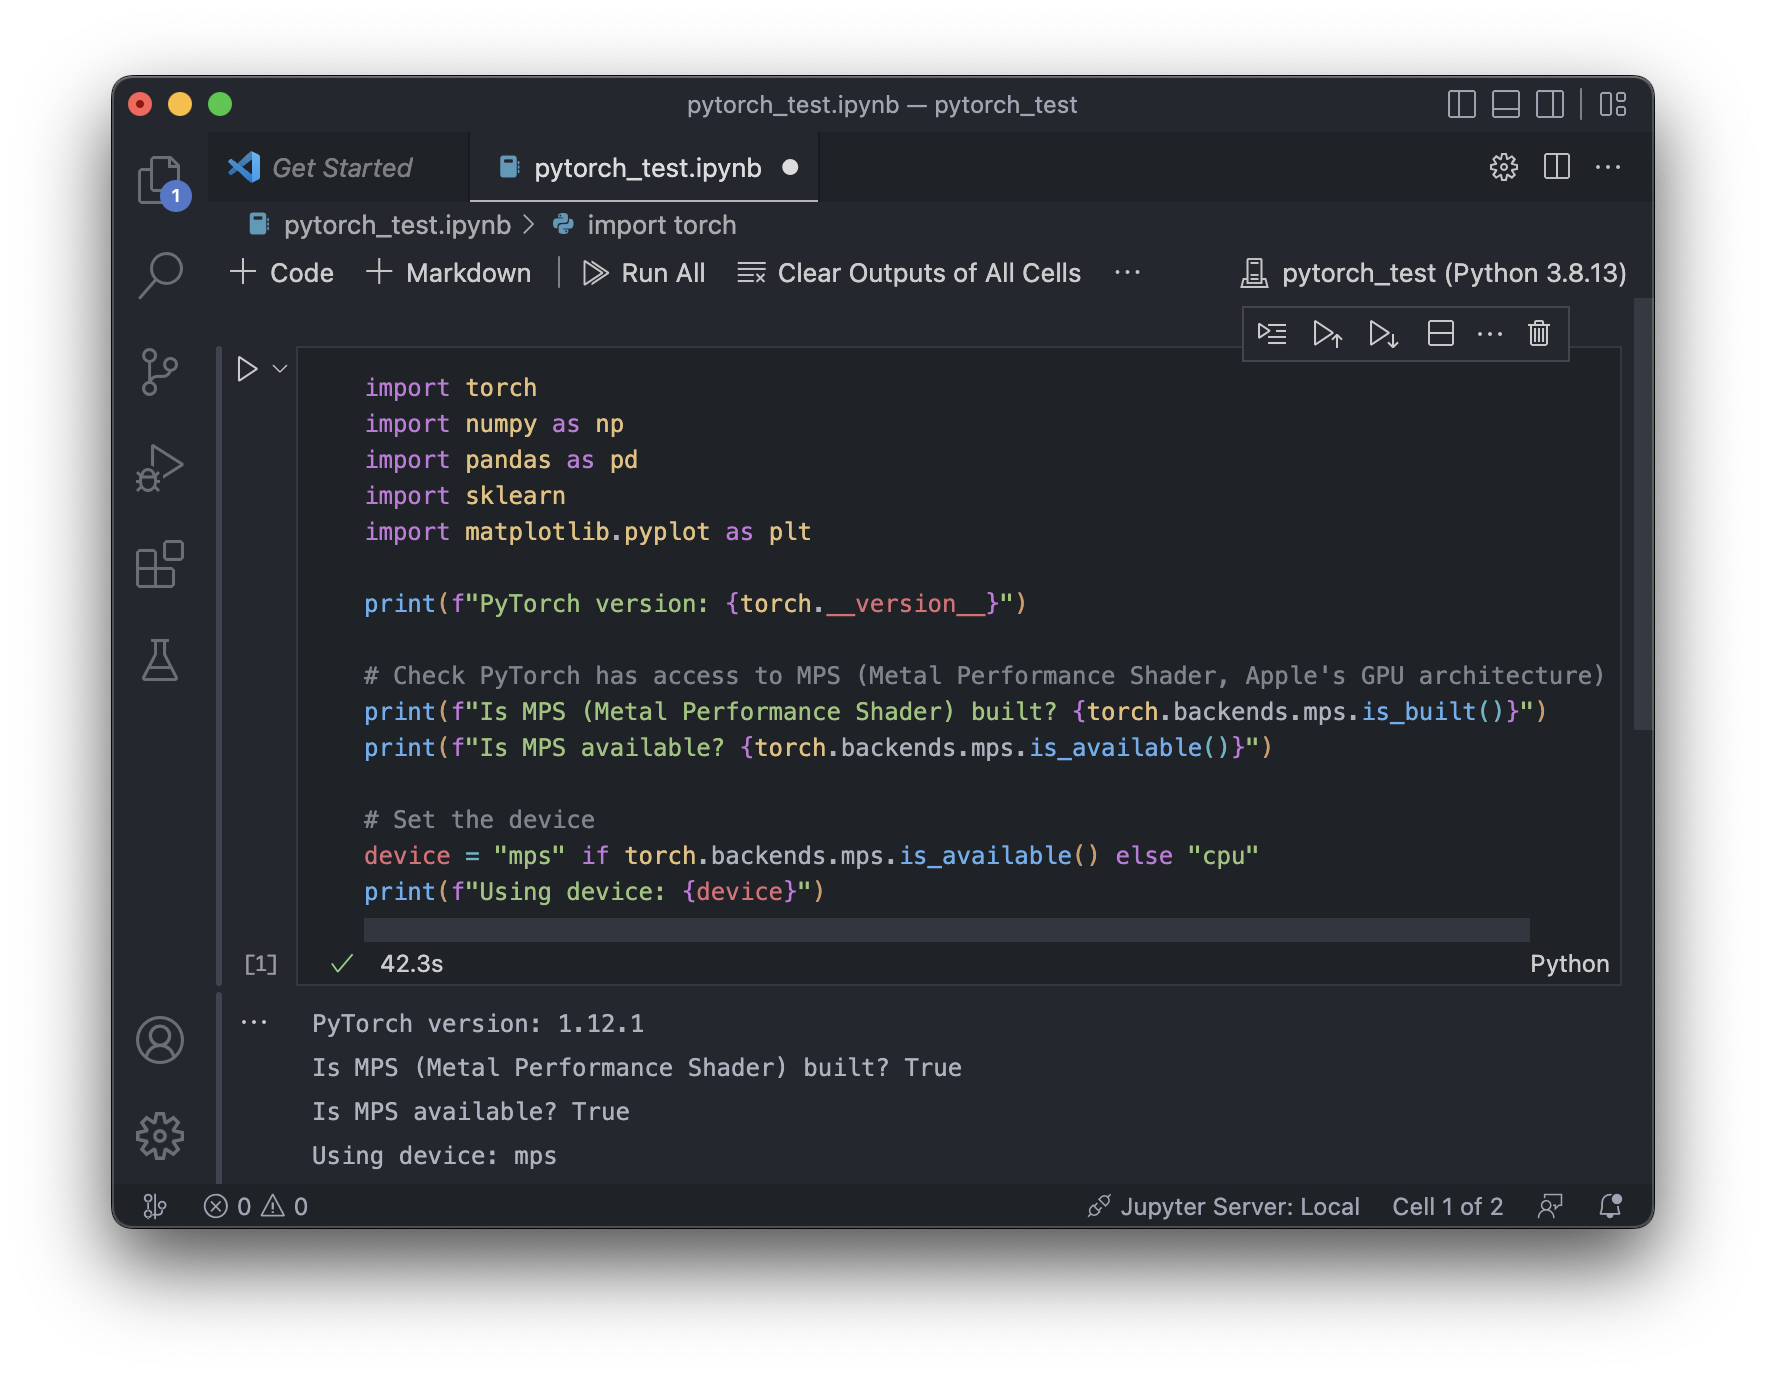
위의 코드 실행 결과, 앞으로 Tensorflow를 사용할 때 CPU 뿐만 아니라 GPU도 함께 accelerate된다는 것을 확인했다.
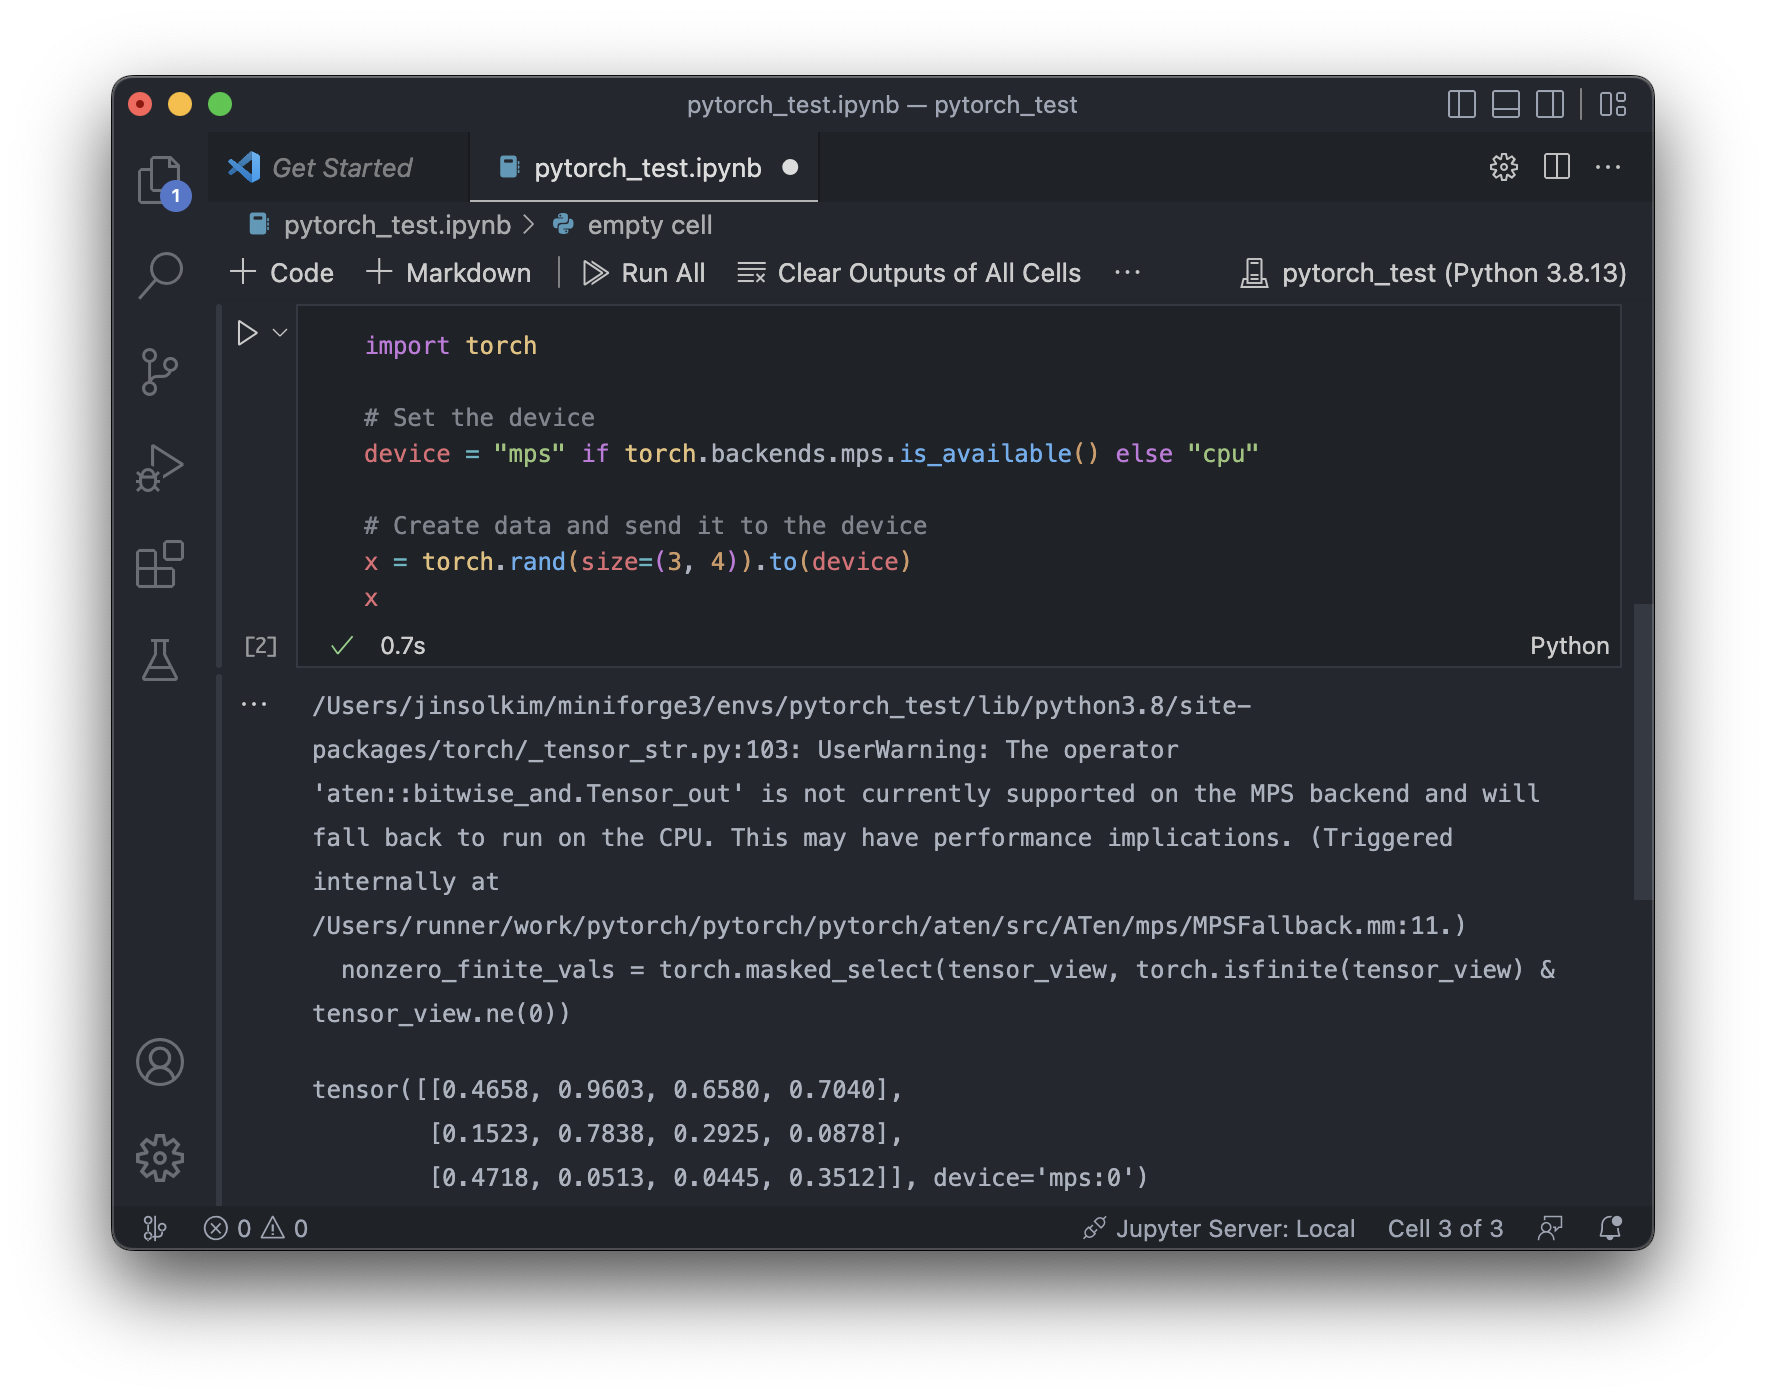
5. Tensor가 잘 전달되는지 확인
Apple Silicon GPU에서 PyTorch를 사용하기 위해서는 PyTorch device 이름으로 mps 를 .to("mps") 코드와 함께 사용한다. (MPS: Metal Performance Shaders)
import torch

# Set the device
device = "mps" if torch.backends.mps.is_available() else "cpu"

# Create data and send it to the device
x = torch.rand(size=(3, 4)).to(device)
x
Reference
Setup Apple Silicon Mac for Machine Learning in 11 minutes (PyTorch edition)

Leave a comment