[MAC] M1 MacBook Pro Environment setting - #2. iTerm2, oh-my-zsh, powerlevel10k
Terminal Customizing
1. iTerm2 settings
1) Terminal Status Bar
2) color schemes
1) Terminal Status Bar 꾸미기
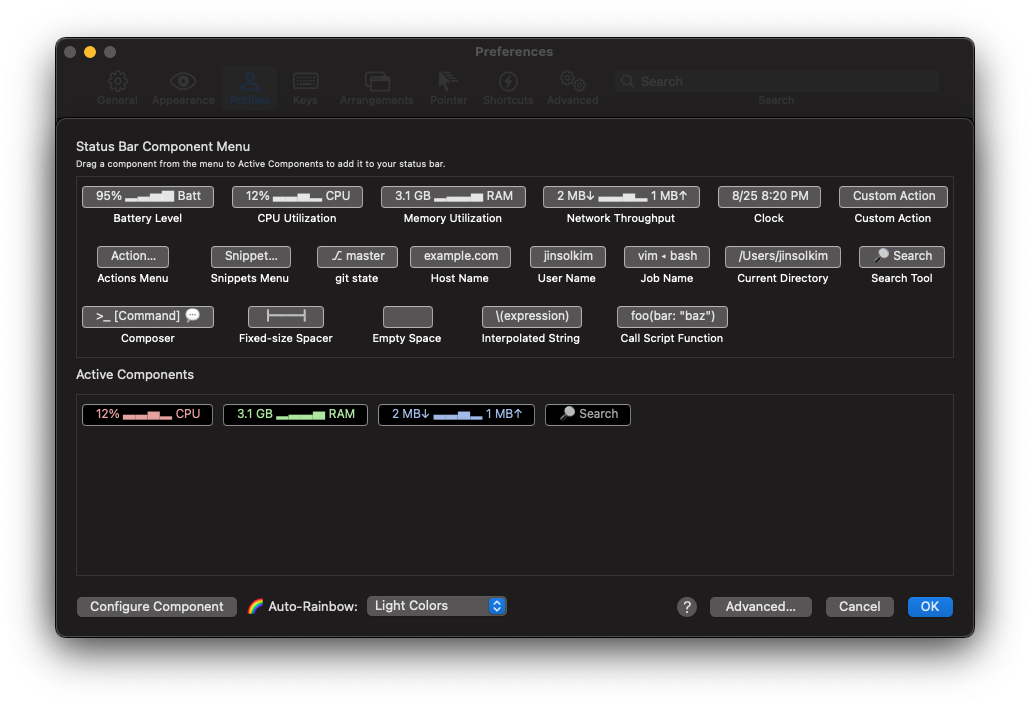
preferences > Profiles > Sessions > Status bar enabled > Configure Status Bar- 원하는 메뉴를 Drag & Drop으로 Active Components 영역에 끌어놓는다.
2) 원하는 color scheme 적용
Iterm2-color-schemes 홈페이지에서 원하는 color theme 다운로드 및 적용. 나의 경우 원하는 색상이
Dracula+색상이므로 이를 예시로 들어 설명하겠다.
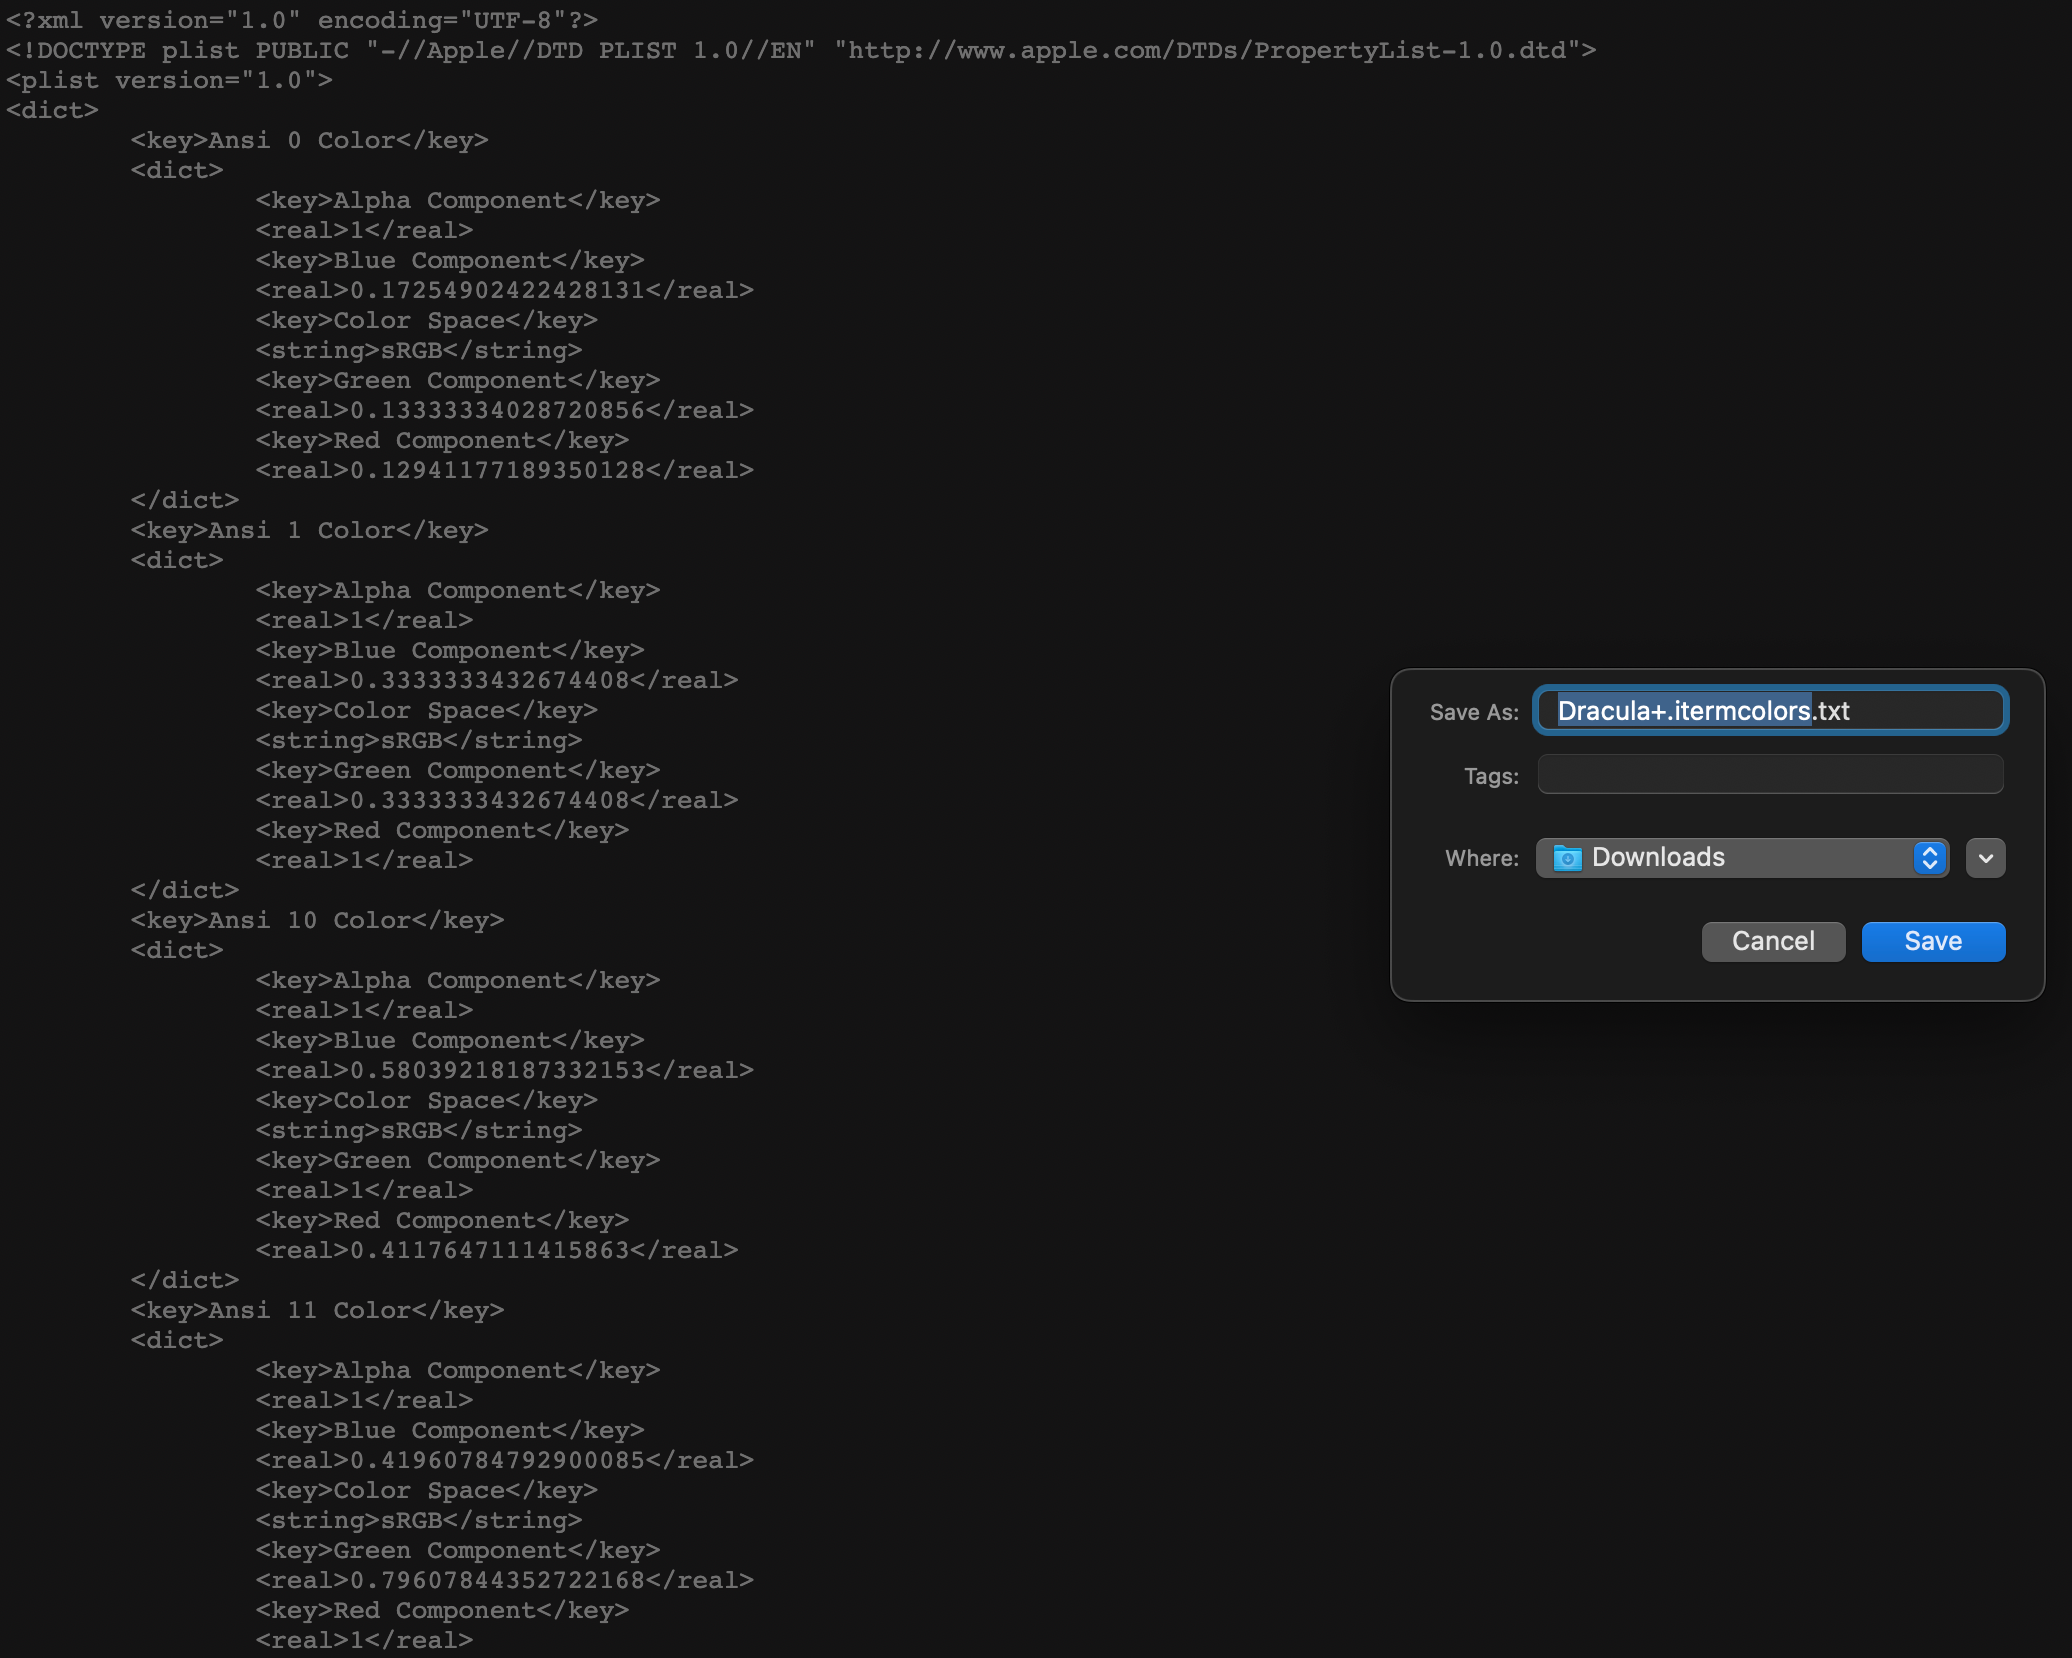
Step1) 원하는 color scheme의 이름인 Dracula+ 클릭! > 새롭게 나타나는 창에서 오른쪽 클릭해서 파일 저장
Step2) 다운로드 폴더에서 확장자 .txt 삭제
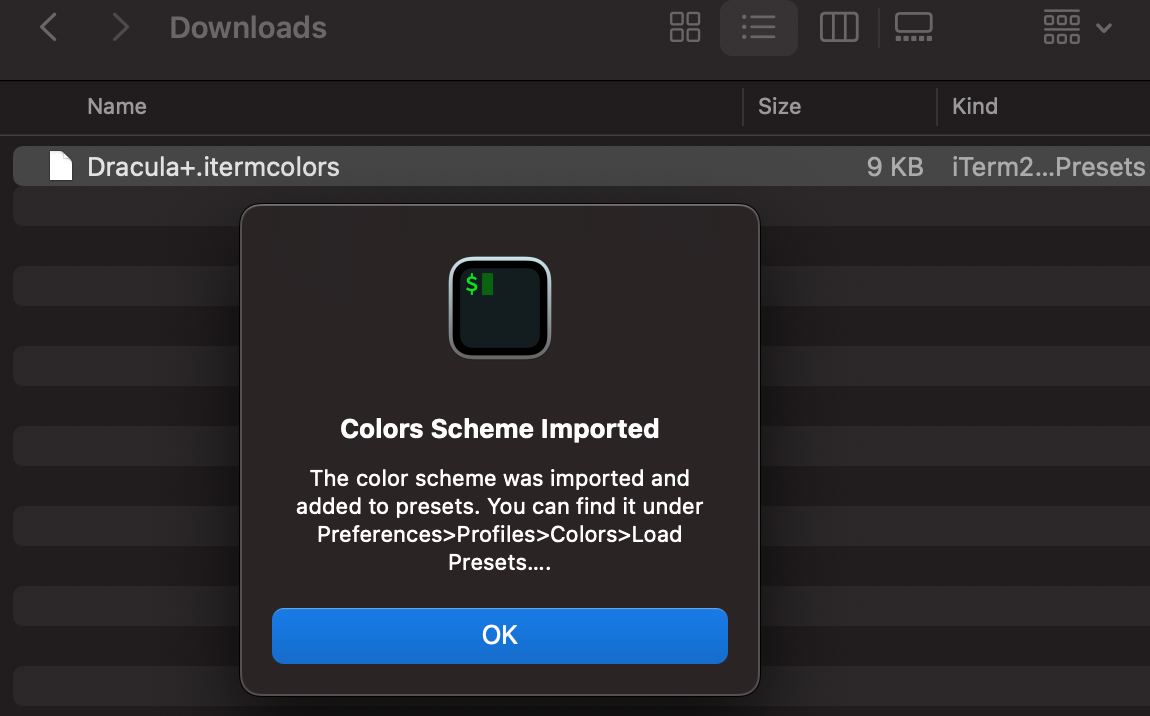
Step3) Dracula+.itermcolors 파일 더블클릭하면 해당 색상 iTerm2로 바로 적용 완료!
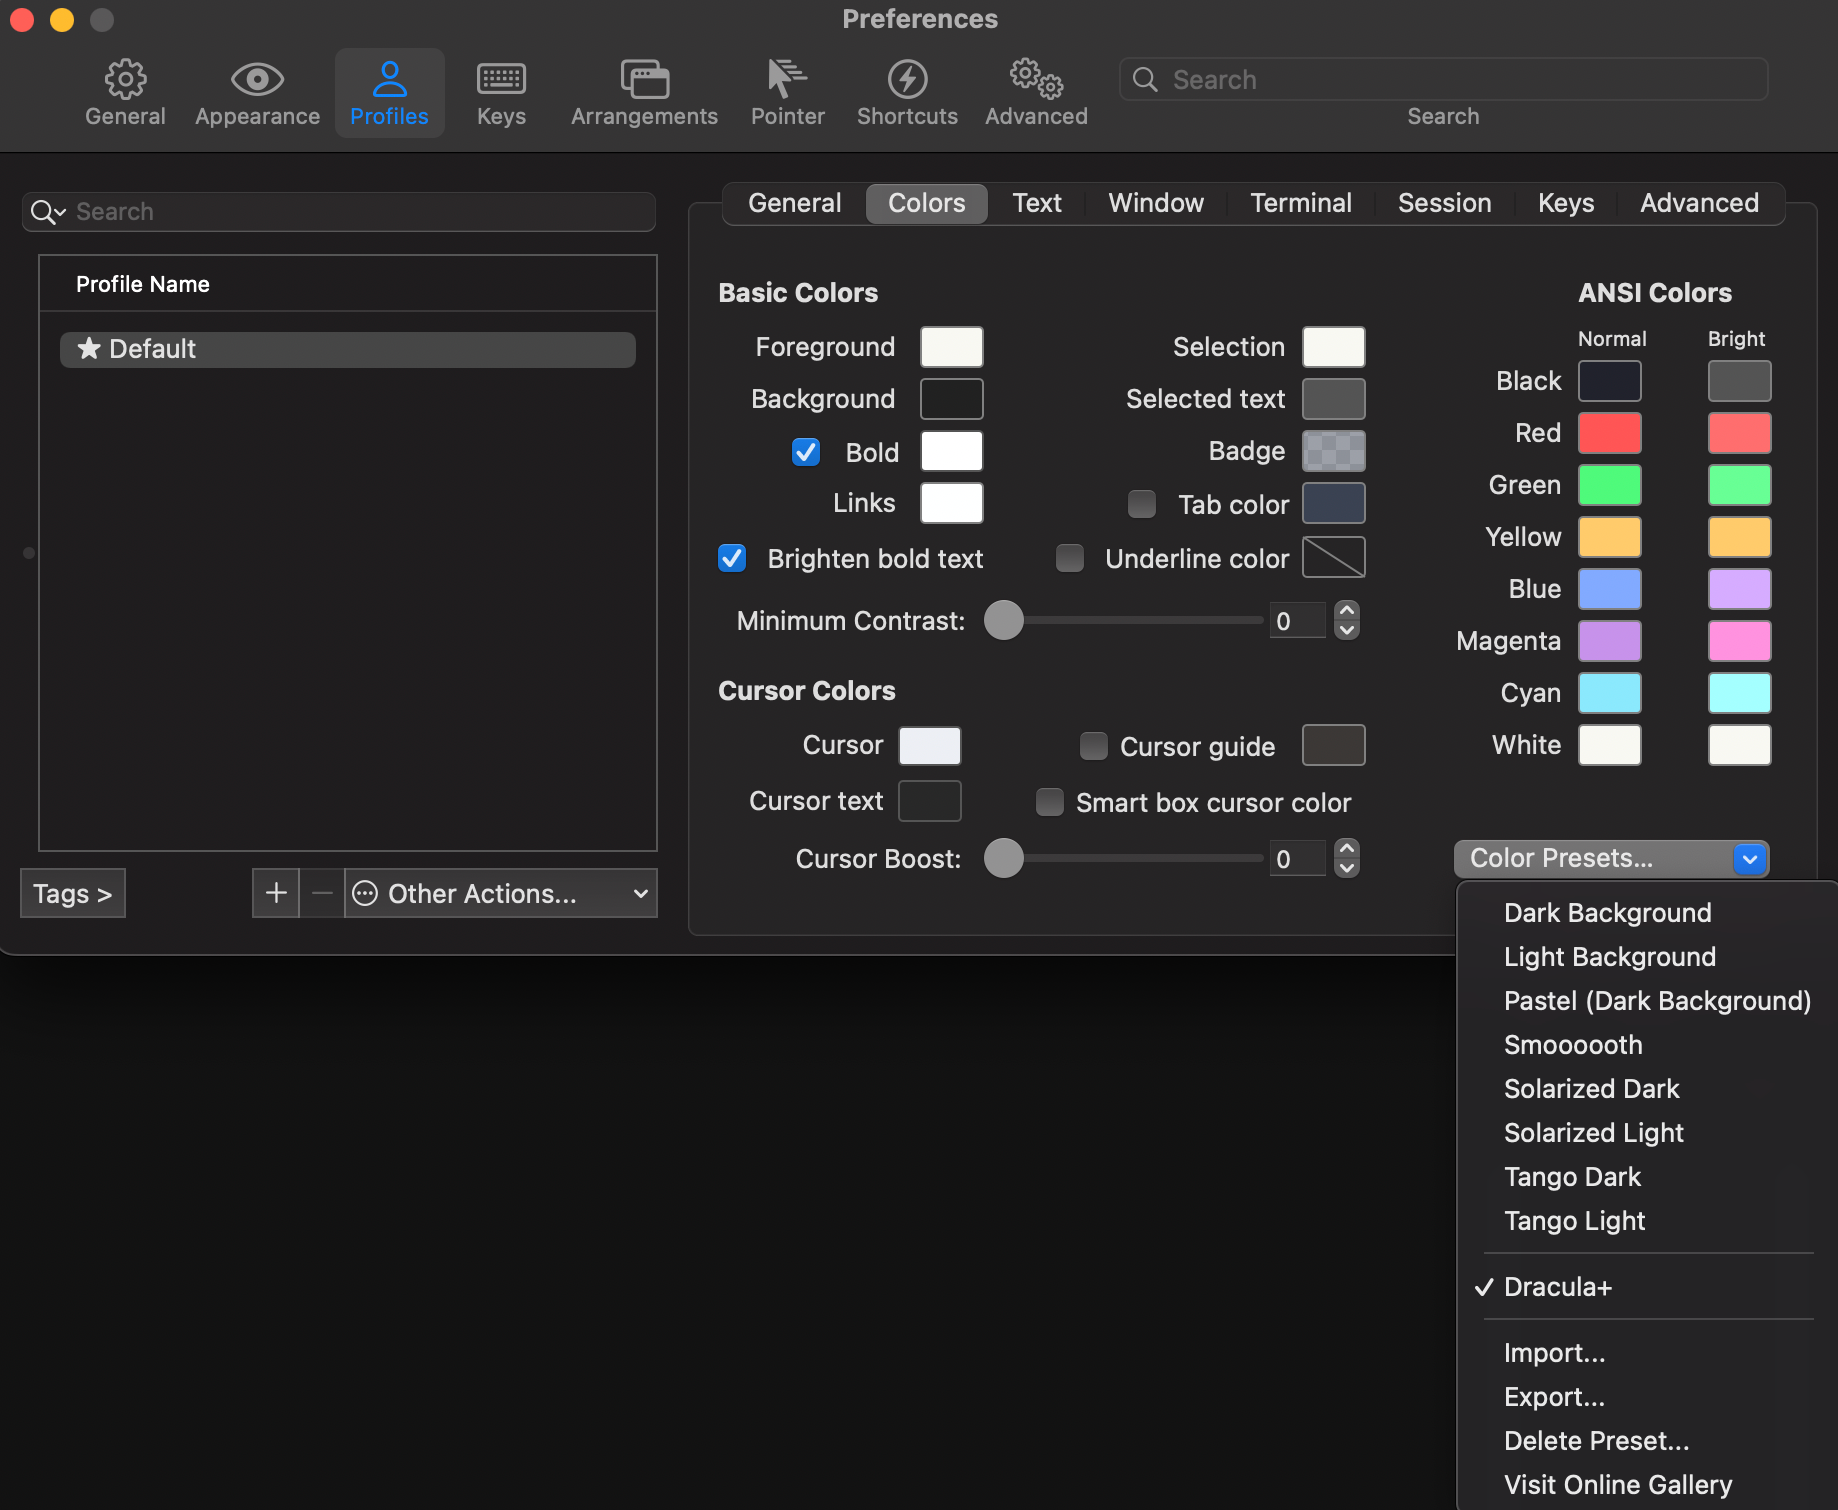
Step4) Preferences > Profiles > Colors > Color Presets: Dracula+로 변경
2. Oh My Zsh
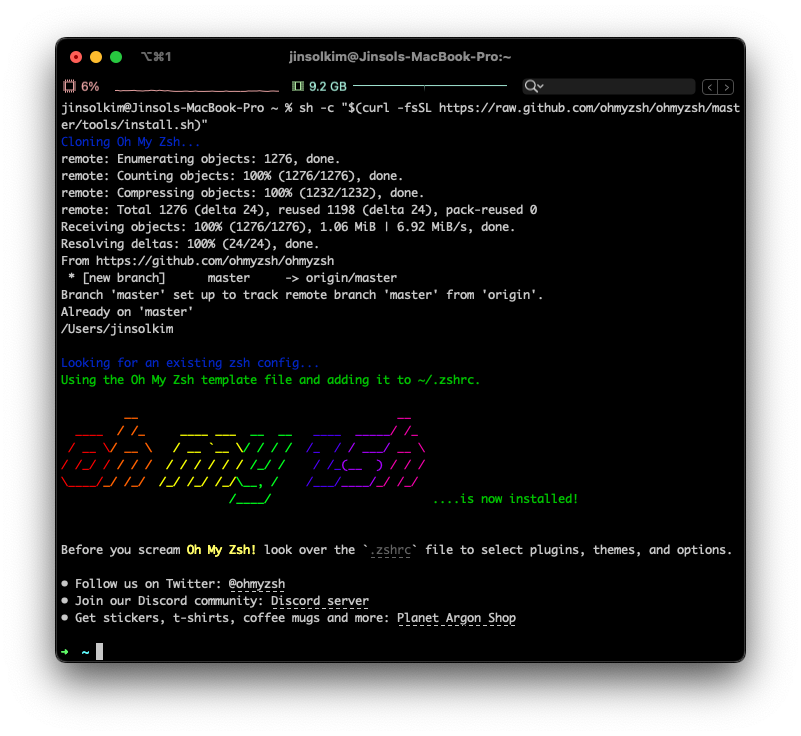
Step1) Oh My Zsh 홈페이지의 Install oh-my-zsh now 영역의 Install oh-my-zsh via curl 코드 복사 후 터미널에서 실행
1
sh -c "$(curl -fsSL https://raw.github.com/ohmyzsh/ohmyzsh/master/tools/install.sh)"
oh-my-zsh 설치가 완료되면 터미널 입력창의 모습이 바뀐다!
3. powerlevel10k
Step1) powerlevel10k github에서 Installation > Oh My Zsh 에 나와있는 코드 복사 터미널에서 실행
1
git clone --depth=1 https://github.com/romkatv/powerlevel10k.git ${ZSH_CUSTOM:-$HOME/.oh-my-zsh/custom}/themes/powerlevel10k
Step2) ~/.zshrc 파일에서 ZSH_THEME="powerlevel10k/powerlevel10k” 설정, 파일 저장
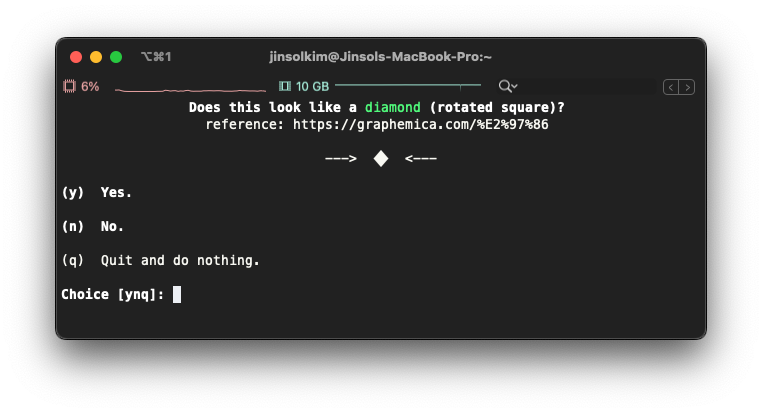
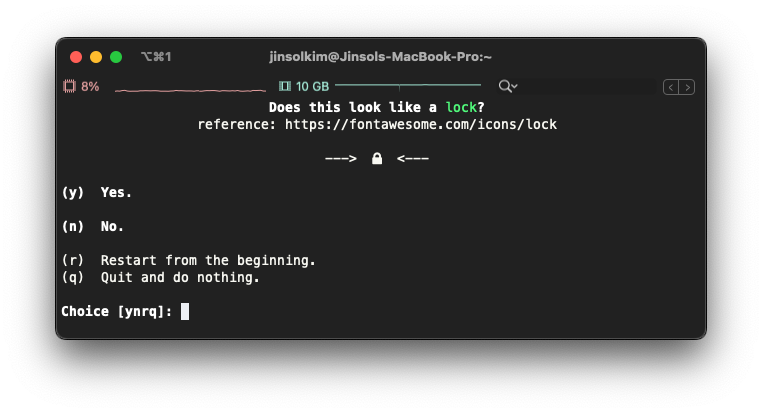
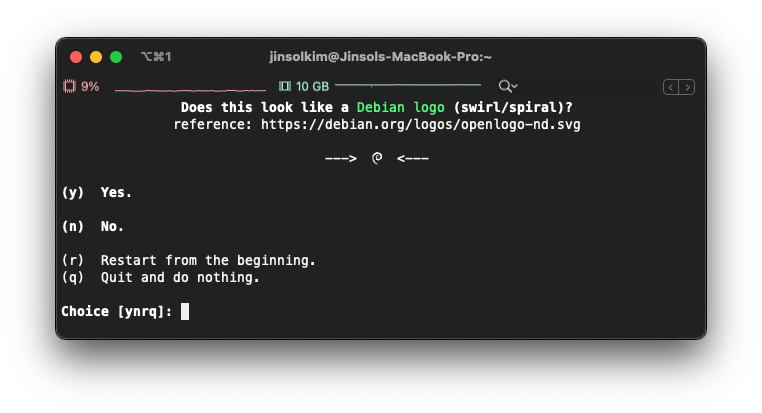
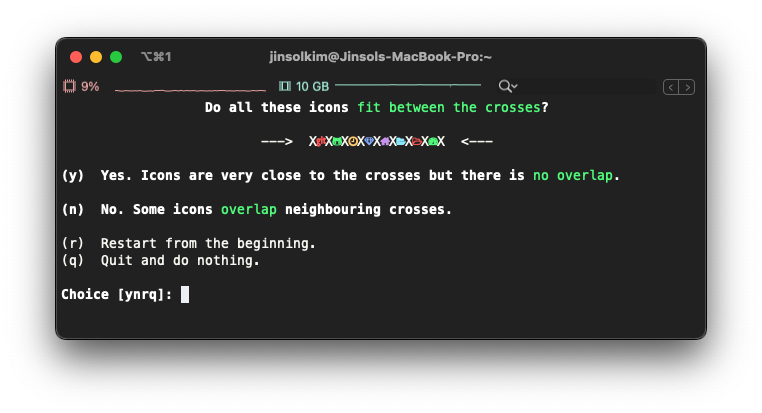
Step3) 터미널 종료 후 재시작하면 powerlevel10k 환경설정 마법사 화면이 나타난다.
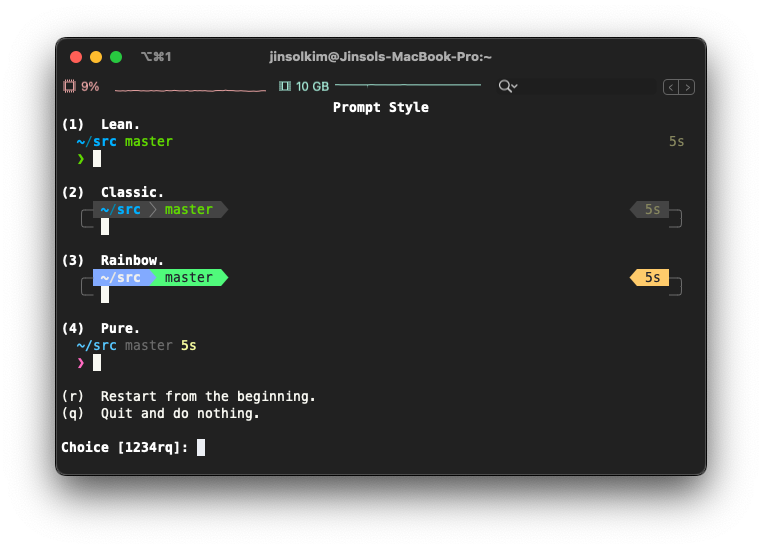
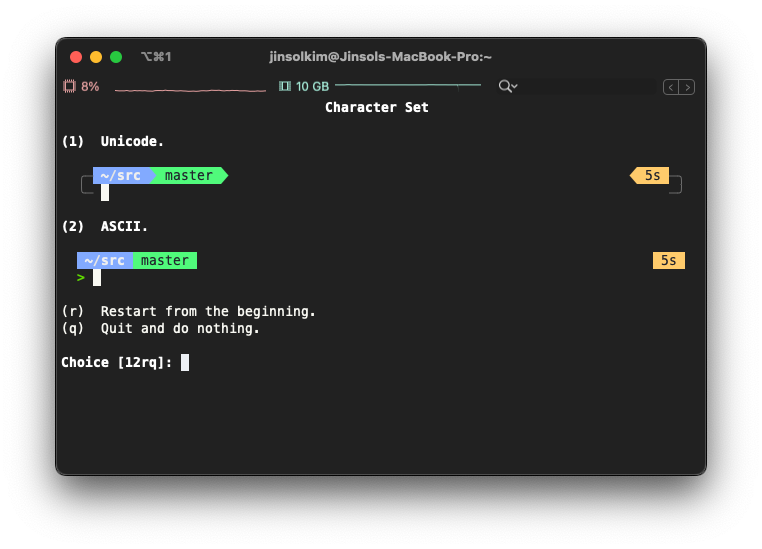
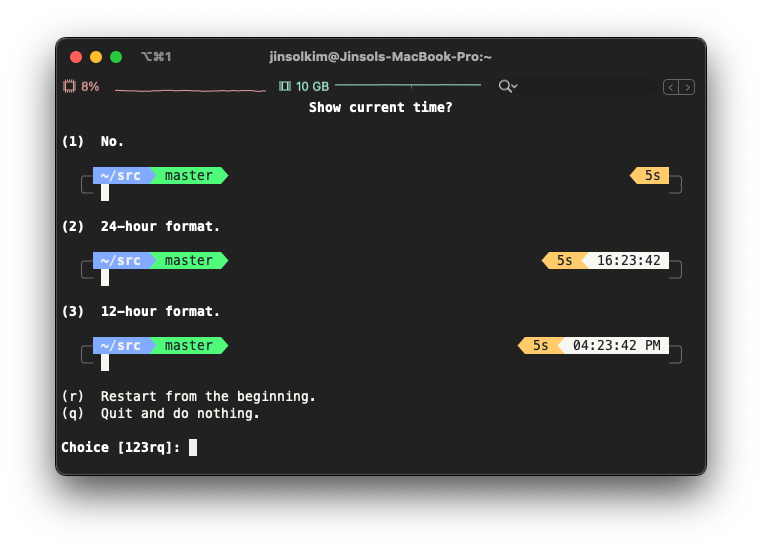
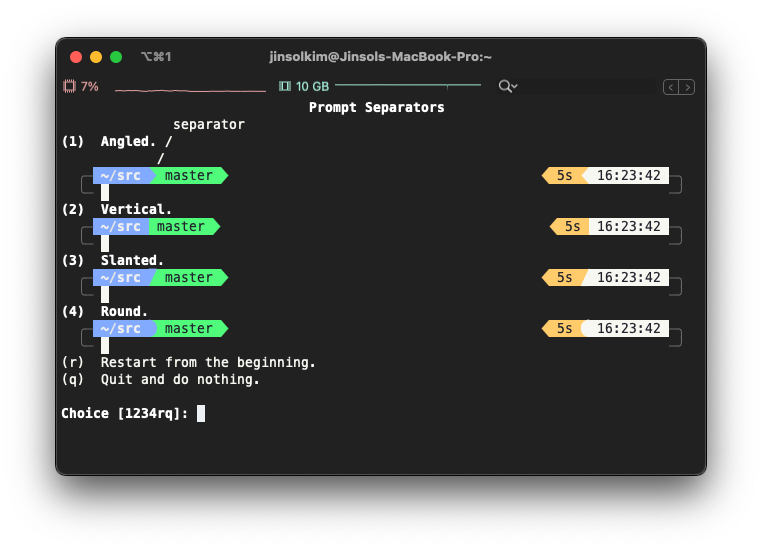
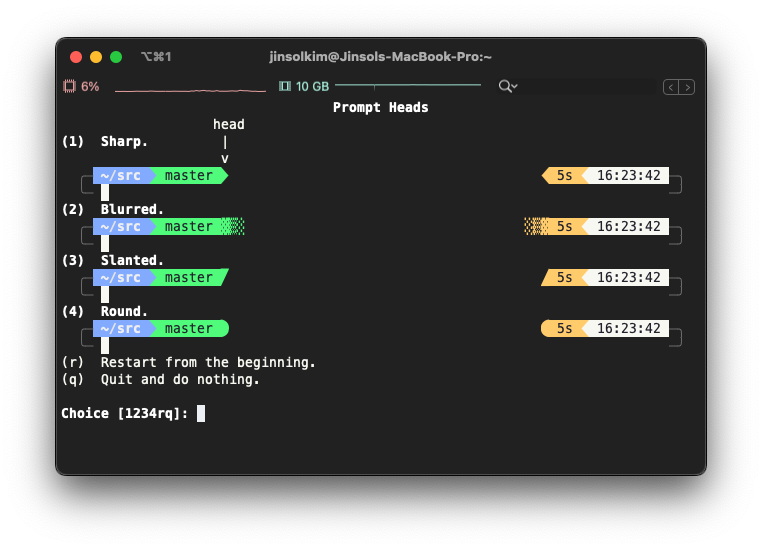
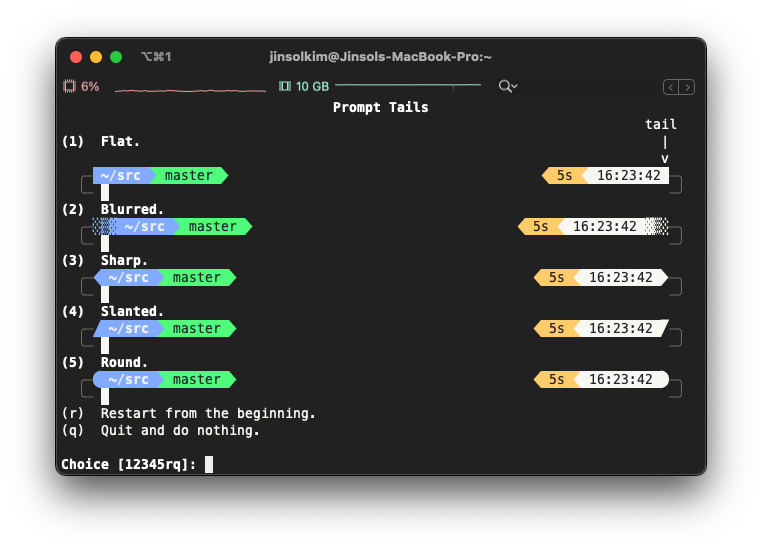
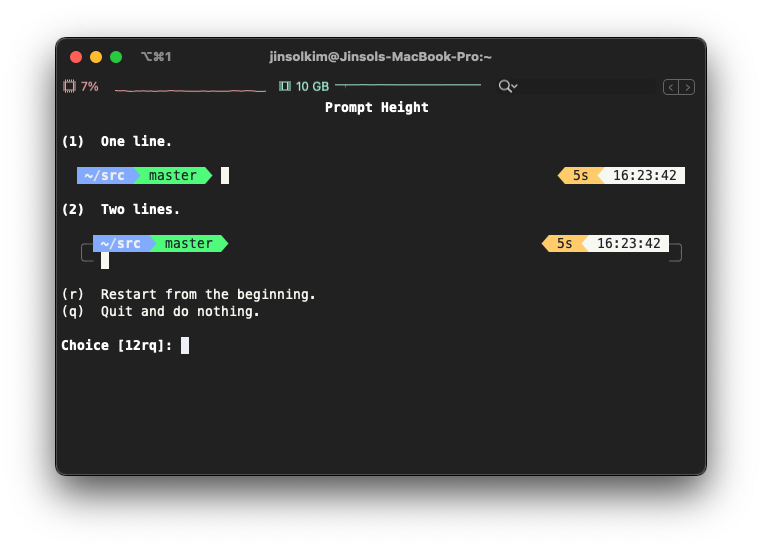
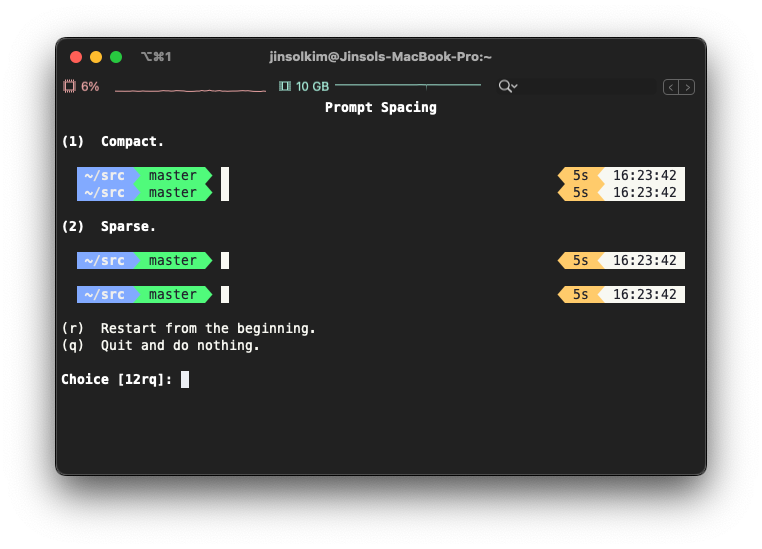
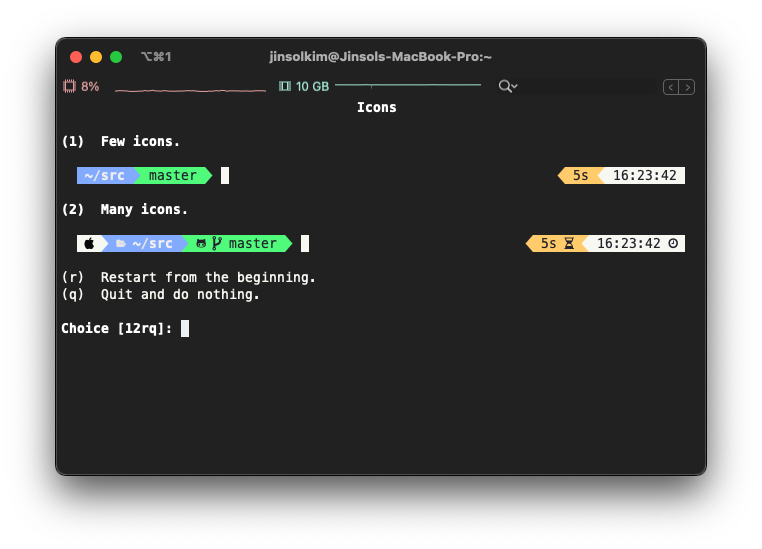
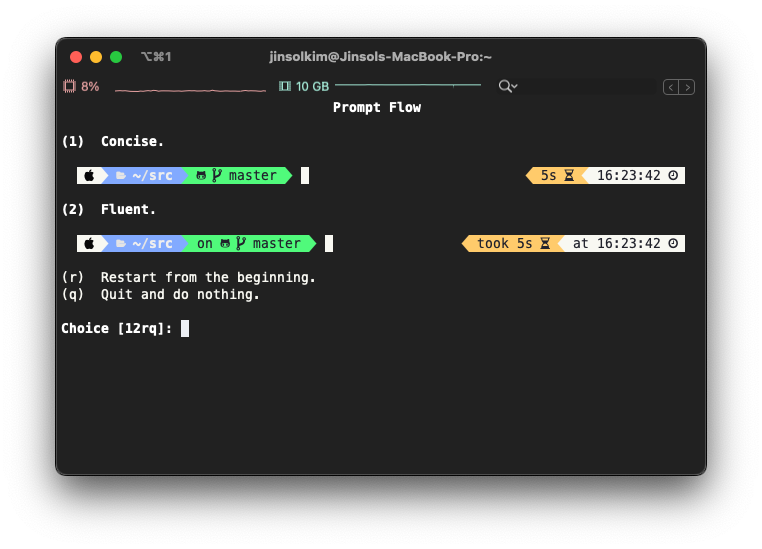
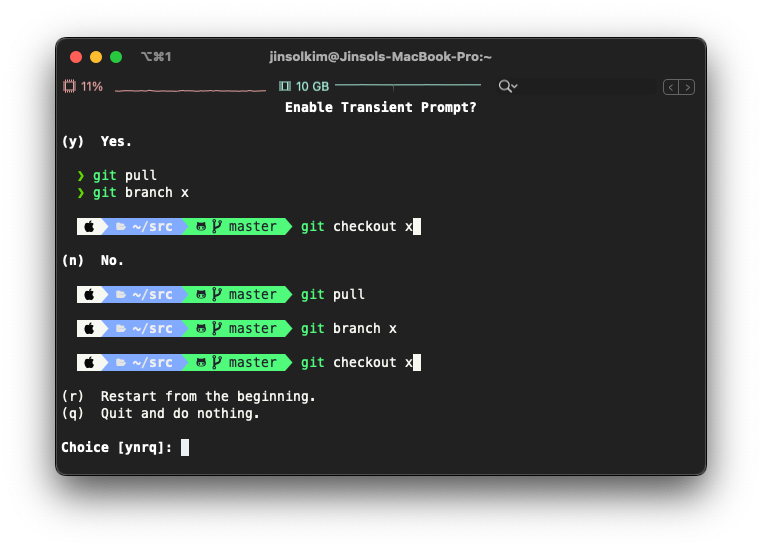
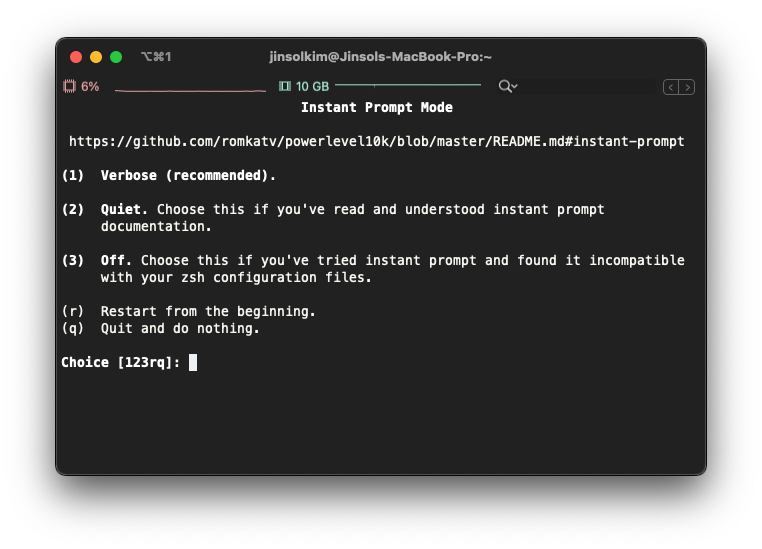
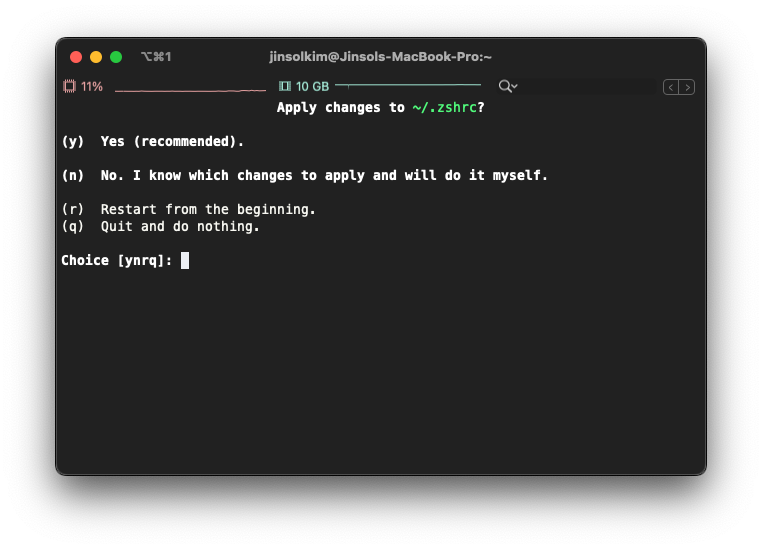
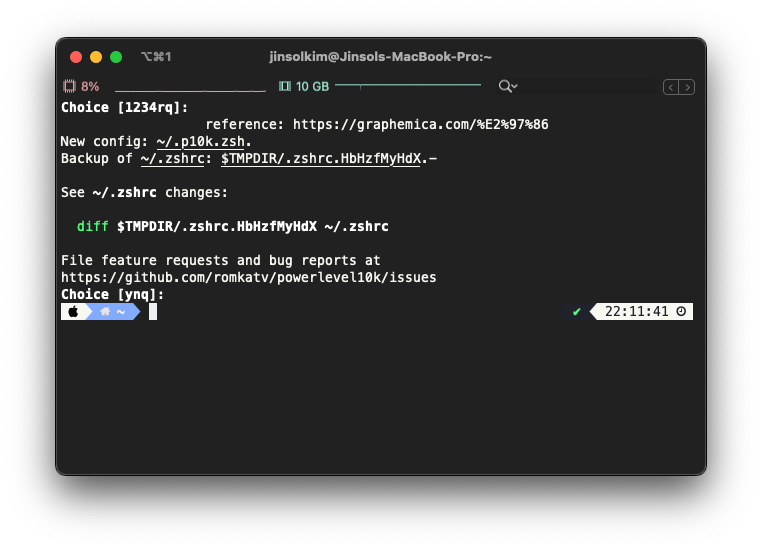
- powerlevel10k 환경설정 마법사 설치과정
Prompt Style: (3) Rainbow
Character Set: (1) Unicode
Show current time?: (2) 24-hour format
Prompt Separators: (1) Angled
Prompt Heads: (1) Sharp
Prompt Tails: (1) Flat
Prompt Height: (1) One line
Prompt Spacing: (2) Sparse
Icons: (2) Many icons
Prompt Flow: (1) Concise
Enable Transient Prompt?: (n) No
Instant Prompt Mode: (1) Verbose
Apply changes to ~/.zshrc?: (y) Yes
